Install the FP-2
Before You Begin
To install the new front panel (FP-2), the old front panel must already be removed, and the new mounting brackets must already be installed.
-
Align the FP-2 with the guides on the inside of the chassis.
Make sure that the ejector levers are fully extended so that they are pointing towards you.
-
Gently slide the FP-2 into the chassis, making sure to apply even pressure
so that the FP-2 does not twist or rotate while you are inserting it.
Note - When the FP-2 power connector meets the power socket inside the chassis, there will be some resistance.
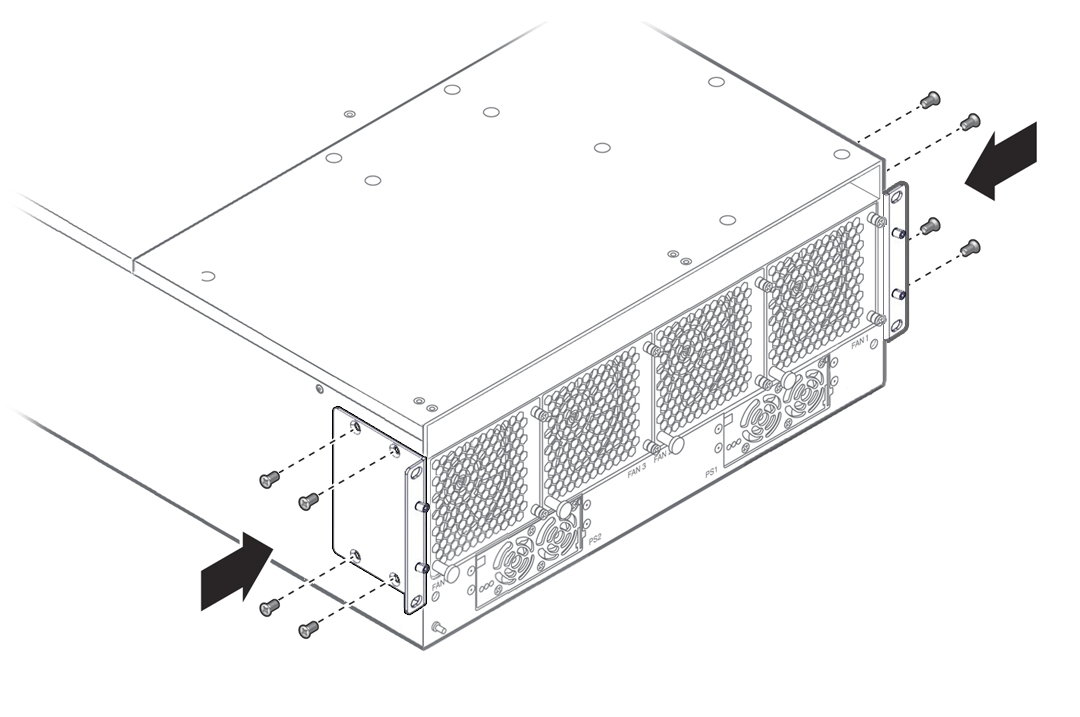
This illustration shows new mounting bracket installation for an Oracle Fabric Interconnect F1-15. For an Oracle Fabric Interconnection F1-4, see Install a Fabric Interconnect F1-4 Front Panel Assembly.
- With the new parts installed, rack install the Oracle Fabric Interconnect.