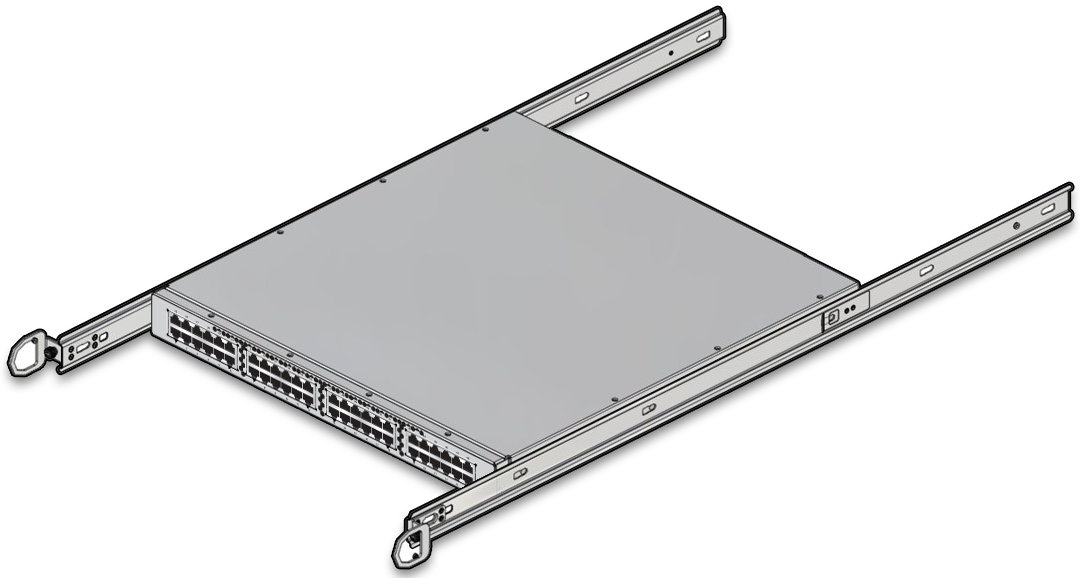
Remove the FMM
 | Caution - The FMM is on a slide rail like the nodes. You must remove the FMM completely from the modular system. Do not slide the FMM out partially and let it hang in the rails. Two persons are needed for the removal and installation procedures. |
Tip - Obtain tools needed: a No. 1 and No. 3 Phillips screwdriver and a long, thin, flat-head screwdriver.
- Follow safety and ESD precautions.
-
Locate the FMM.
The FMM is located at slot 19 in the modular system. (See Front Components.) There is a cable routing space above it in slot 20. Slot numbers are marked on the frame both front and rear.


- If the FMM is configured as an ASR asset, deactivate it.
-
From the front of the modular system:
-
Remove the filler panels at slots 19 and 20.
For detailed information, see Remove or Install a Filler Panel.
-
Using a No. 1 Phillips screwdriver remove the filler panel support brackets at slot 19, and save the screws.
Note - The screws are located inside, on rails about 2 ½ inches from the front edge of the rail. They are not captive, so take care not to drop or lose them. - Using a No. 3 Phillips screwdriver, remove the filler and node support brackets at slot 20, and save the screws.
-
Disconnect all Ethernet cables.
Note - Cables are labeled U19, PT-xx, where xx is the port number.
Tip - It's helpful to tie all of the Ethernet cables together (for example, with an old cable), and wrap the other end up and around the upper-left door hinge. This action will prevent the cables from falling down and will keep them on top of the FMM when it is replaced. -
Remove the filler panels at slots 19 and 20.
-
From the rear of the modular system:
-
Using a No. 3 Phillips screwdriver, remove the node support
bracket at slot 20 and save the screws
Note - Notice the orientation. The shelf is on top. - Disconnect the power cables from each side of the FMM.
- Remove all ties holding down the FBH cables to the tray.
- Using a long, thin, flat-head screwdriver, disconnect the FBH connectors from the FMM chassis.
- Disconnect the DB-9 LED panel cable from the DB-9 port.
- Disconnect the Cat-5e cable from the console port.
-
Using a No. 3 Phillips screwdriver, remove the node support
bracket at slot 20 and save the screws
-
Arrange for an assistant to help you remove and carry the FMM to an
antistatic equipped workbench.
See Safety and ESD Precautions.

Caution - You must completely remove the FMM. The modular system rails do not support partial removal and service. Partially removing the FMM and letting it hang in the rails can damage the rails and possibly the FMM.
-
From the front of the modular system:
- Using a No. 1 Phillips screwdriver, loosen the thumbscrews on the front of the FMM slides.
-
Using the D-shaped metal handles, pull the FMM straight toward you
a few inches.

Caution - Be careful to avoid pinching your fingers with the D-shaped metal handles.
- Using two persons, pull the FMM completely out, with each person holding one side.
-
Place the FMM on a workbench that has antistatic
protection.

- Remove the FBH tray from the slides.
-
Remove the rail slides from the faulty FMM, then install them on the
replacement FMM.
Note - The rail slides have a spring-loaded clip that holds the rails in place. Move the locking clip in an outward motion to release the FMM locking pin from the rail slides. Be careful not to over bend the locking clip. - Insert and align the FBH tray on the slides of the replacement FMM, then tighten the thumbscrews.
-
Install the replacement FMM.
Note - Do not connect the power cords until completing the other steps of installing the FMM.See Install the FMM.