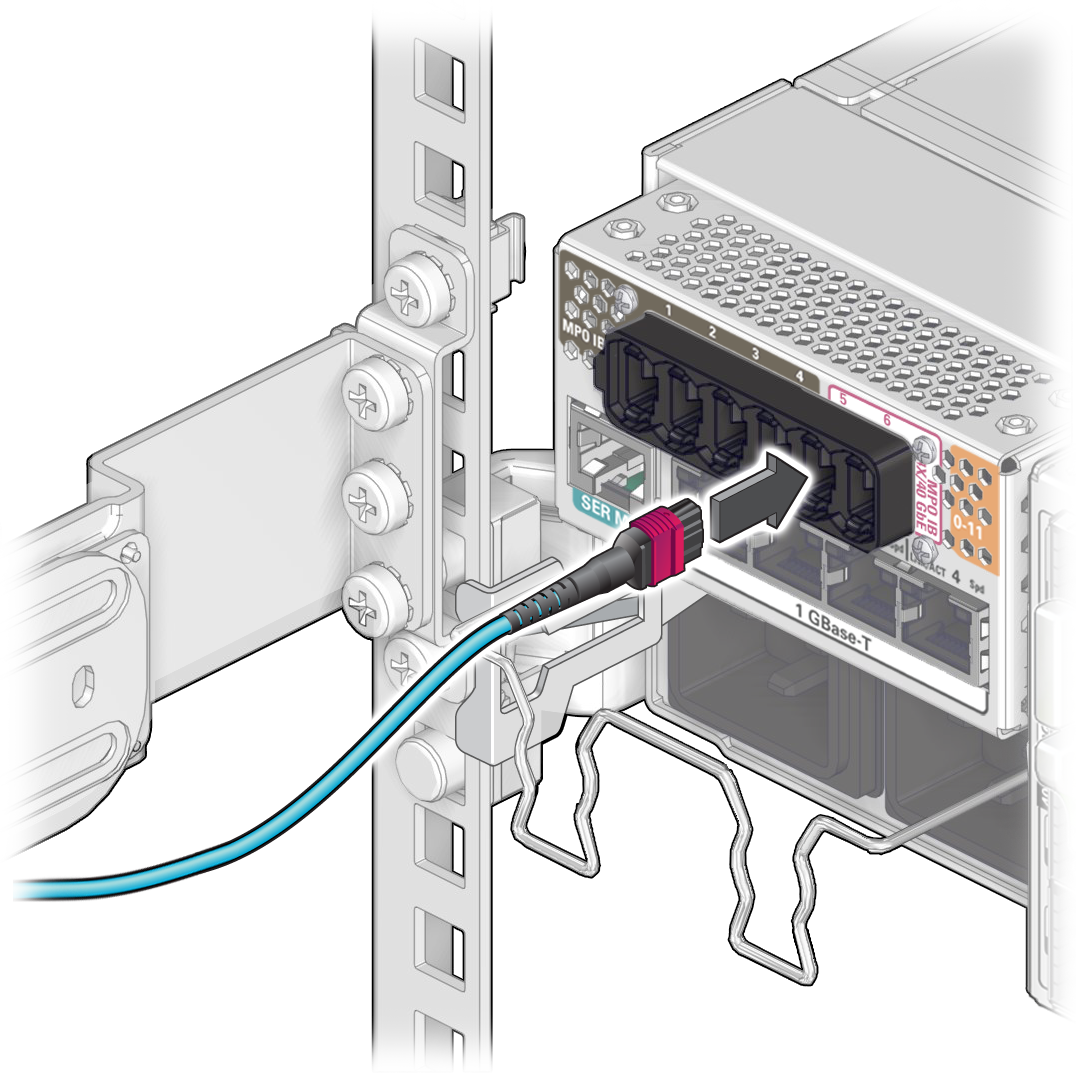
Connect the PrizmMT Cables
Use this procedure to connect the PrizmMT cables to the chassis gateway ports.
Note - Only PrizmMT receptacles labeled 5 and 6 are for 4x magenta-colored housing PrizmMT cables. All other PrizmMT receptacles are for 12x black-colored housing PrizmMT cables. The 12x cables (black-colored housing) are used for connecting the virtualization switch to leaf switches, spine switches, and other F2-12 switches through inter-switch links.
- Identify the prerequisite and subsequent installation tasks that you must perform in conjunction with this task.
-
Remove any filler plug (if installed) from the PrizmMT receptacle where you
are installing the cable, and visually inspect the receptacle.
The receptacle should be clean and free of dirt or debris.
- Clean the receptacle:
-
Remove the protective cap from the cable connector and visually inspect the
connector.
The connector should be clean and free of dirt or debris.
- Identify the cable-alignment features on the cable, such as the keying on the cable connector and port, and the white dot on the housing.
-
Align the PrizmMT connector to where it will connect.
For the chassis, the receptacle is vertical, so the connector is correctly aligned when the white dot on the housing is facing down.

Caution - When aligning the PrizmMT connector and port receptacle, ensure the tip of the ferrule does not forcefully contact the edges of the ports or you risk damaging the equipment. Instead, carefully insert the tip of the ferrule into the center of the port.

- Firmly press the PrizmMT connector into the receptacle until you feel the connector securely latch into the receptacle.
- Lay the cable into a slot on the cable management comb.
- Repeat Step 2 through Step 8 for each cable to be connected.
-
If link quality issues occur, and you suspect cleanliness is the
cause:
- Unplug the cable(s).
- For each end of the cable, repeat Step 2.
- Plug in the cable(s).
- When cables are connected, consider your next task.
- Lay the cables into place.