Assets must be part of a project so that they can be versioned and deployed. Creating and editing assets in Merchandising automatically adds them to the current project. You can also manually add assets to a project in the Navigation pane or in an editable Preview session. For more information, see Navigation Toolbar and Working with Visual Merchandising.
To see the assets that have been added to the current project, click the name of the project at the top of the Merchandising window.

Merchandising displays the project dialog box, which contains all the project’s assets.
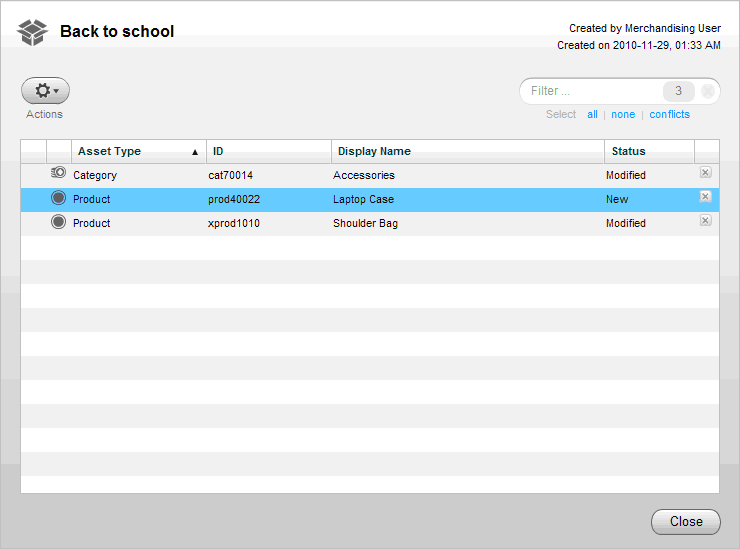
When you create an asset, for example a product, the asset is automatically added to the current project, with the status New in the project dialog box. The new asset also appears in the Navigation pane for this project. The asset will be published to the live Web site when the project is deployed. The asset is also added to the versioning system.
If you plan to modify an asset but have not yet done so, you can add it to the project manually:
Select the assets to add. See Using the Navigation Pane.
Click the Actions menu and select Add to Project.
Note: For information about adding an asset to the project while previewing your site, see Working with Visual Merchandising.
