Create a new ticket from associated ATG Service applications by clicking Create New Ticket in the Next Steps panel.
From the Tickets Tab
To create a new ticket:
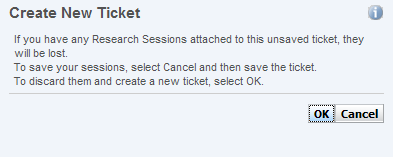
From the Next Steps panel, click Create New Ticket. You are prompted to save or discard any Research Sessions you may have open.
Note: For ATG Knowledge customers only. See the ATG Knowledge Guide for Business Users for more information about Research Sessions and working with ATG Knowledge.
Click Cancel to save your Research Session, or click OK to continue creating a new ticket. If you click OK, the Ticket Details pane is displayed. The Ticket Details pane contains customer, ticket summary, and ticket activity information.
Complete the information in the Ticket Summary panel as required, including:
Ticket Description
Customer Information (in Ticket)
Priority
Note: Customer information modified and stored within the Ticket Summary is applicable to the individual ticket only (Customer Information In Ticket). This information is not related to customer profile information stored in the ATG customer repository and can not be used for a customer search. See Customer Management - Customer Information for more information about customer profile information.
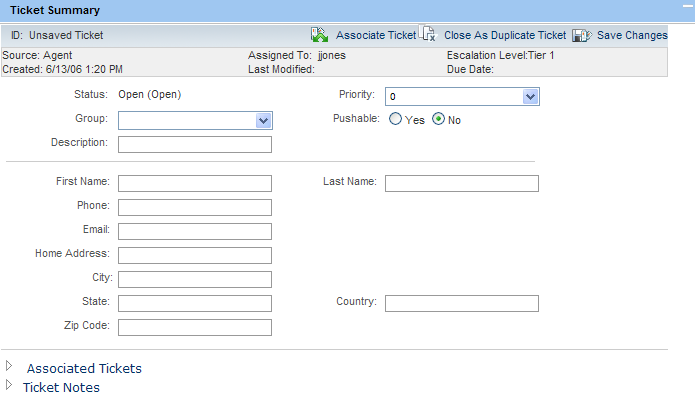
Click Save Changes in the Ticket Summary panel to save the ticket and summary information. The Ticket Summary information is saved, a ticket identification number is created, and the Ticket Summary is redisplayed in read-only view. To edit the Ticket Summary, click Edit Ticket in the Ticket Summary panel.
To associate the new ticket with an existing ticket, click the Associate Ticket button in the Ticket Summary panel. See Associating a Ticket. You can view the list of associated tickets by expanding the Associated Tickets section of the Ticket Summary panel.
To close the ticket as a duplicate of an existing ticket, click Close as Duplicate Ticket in the Ticket Summary panel. See Closing a Ticket as a Duplicate.
To add notes to the ticket, expand the Ticket Notes section of the Ticket Summary panel. Type notes and information related to the ticket in the Ticket Notes box.
Select or clear the Share with Customer check box and then click Add. Selecting the Share with Customer check box makes the note public and available to customers using your Self Service site. You can view Ticket Notes by expanding the Ticket Notes section of the Ticket Summary panel.

From the Ticket Details Customer Information panel, you can either link an existing customer profile with the new ticket, or create a new customer profile. See Linking a Customer to a Ticket and/or Creating a New Customer.
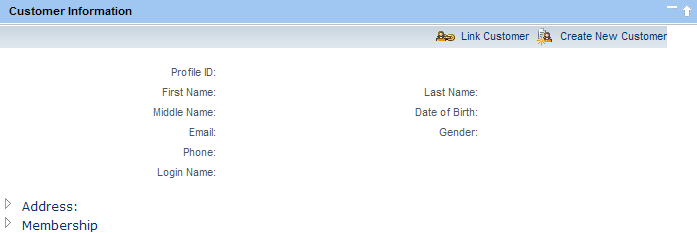
Note: You are not required to link customer profile information to a ticket. However, customer profile information contains e-mail and login information required for creating customer password information for use on your Self Service site.
Continue with Next Steps. You must select a Next Step to clear the current ticket from the Service Center and continue working with ATG Ticketing, or select another ticket from the Active Tickets list to change the current ticket view. See Working with Next Steps. To work using multiple tickets and multiple ticket windows, see Working with Multiple Tickets/Windows.
