Connect an Enhanced PDU to a DHCP Network
-
Gather the following:
-
Access to the PDU metering unit
-
An Ethernet cable to connect the metering unit to the network
-
A system on the network to log into the PDU metering unit
-
-
Confirm with your network administrator that your DHCP server can accept
new MAC addresses.
For security reasons, some network administrators disable devices with unknown MAC addresses from connecting to the DHCP network.
- If you have already connected the PDU's power input leads to the AC power source, disconnect the power input leads to power off the PDU.
- Connect an Ethernet cable to the PDU metering unit's RJ-45 Ethernet port and to the network.
- Connect all the PDU power input leads to the AC power source.
-
Determine the IP address using one of the following ways:
-
Via LCD screen.
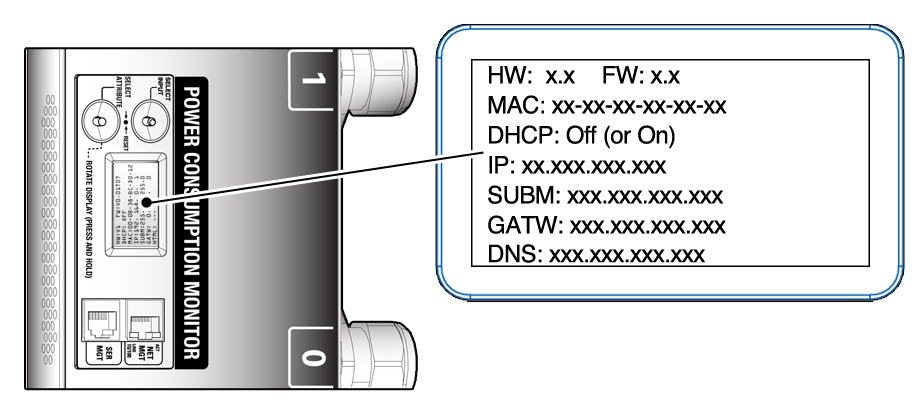
Press the PDU input button the same number of times as the quantity of inputs to display the PDU IP information on the LCD screen.

-
Via RS-232 cable
- Connect an RS-232 cable between the SER MGT port and the host.
- Configure the host's terminal or terminal emulator settings.
-
At the terminal device, log in to the PDU metering unit as
an admin user.
See Login Information.
-
After successful login, type get
net_ipv4_ipaddr:
pducli -> get net_ipv4_addr
-
Via LCD screen.