Launch Oracle System Assistant Locally
This procedure provides instructions for launching Oracle System Assistant locally using devices attached to ports on the server.
Before You Begin
To launch Oracle System Assistant locally, you must be physically present at the server and have the following devices attached to the server:
-
VGA monitor
-
USB keyboard
-
USB mouse
-
Ensure that the server is powered off to standby power mode.
See Standby Power Mode.
-
Connect devices to the server.
For connector and port locations, see Front and Back Panel Features.
- Connect a VGA monitor to the video port on the front of the server.
- Connect a USB keyboard and mouse to the USB connectors.
-
To power on the server to full power mode, press the server front-panel Power button.
The server boots, and BIOS boot messages appear on the monitor.
-
Watch the screen for the list of function-key options.
If functioning version of Oracle System Assistant is installed in the server, the list of options includes: Press F9 to start Oracle System Assistant.
-
To start Oracle System Assistant, press the F9 function
key.
The server initializes, and after several minutes, Oracle System Assistant launches.

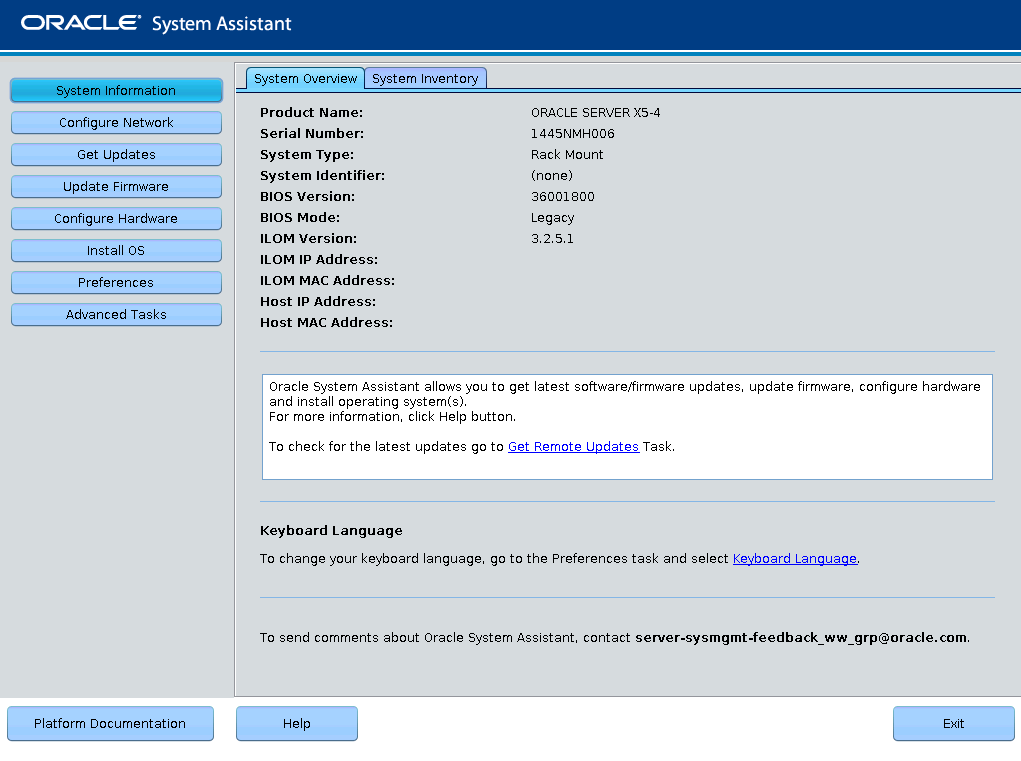
The Oracle System Assistant System Overview screen appears.

-
Use Oracle System Assistant to perform the tasks in the order shown in the following
table.
The tasks are located in the left-side navigation panel.
For more information about using Oracle System Assistant, click the Help button or refer to the Oracle X5 Series Servers Administration Guide (http://www.oracle.com/goto/x86AdminDiag/docs).
StepTaskOracle System Assistant Task1Set up Oracle System Assistant network connection.Network Configuration2Get latest software and firmware updates.Get Updates3Update Oracle ILOM, BIOS, disk expander, or HBA firmware, if needed.Update Firmware4Configure Oracle ILOM.Configure Hardware > Service Processor Configuration5Configure RAID.Note - Do not use this option on a disk with a preinstalled OS.
Configure Hardware > RAID Configuration6Install an operating system using the Oracle System Assistant Install OS wizard. Supported operating systems include Oracle Solaris, Linux, Windows, or Oracle VM software.Note - Do not use this option if your system came with a preinstalled OS.
Install OS
Next Steps