Remove a Power Supply
 | Caution - If a power supply fails and you do not have a replacement available, ensure proper airflow by leaving the failed power supply installed in the server until you replace it with a new power supply. |
This procedure describes how to remove a power supply from the server.
Before You Begin
-
For serviceability considerations, see Component Serviceability.
-
For power supply designation information, see Component Designations.
-
The server can be configured to use low‑line 110VAC input voltage in a 2-processor configuration, however 4-processor configurations require power supplies to be configured with high‑line 220VAC input.
-
Prepare the server for service. See Prepare the Server for Hot
Service.
To perform a cold-service procedure, see Prepare the Server for Cold Service.
-
Identify the power supply that needs to be replaced.
A lit amber color Service Action Required indicator indicates a failed component. For more information, see Power Supply Reference.
-
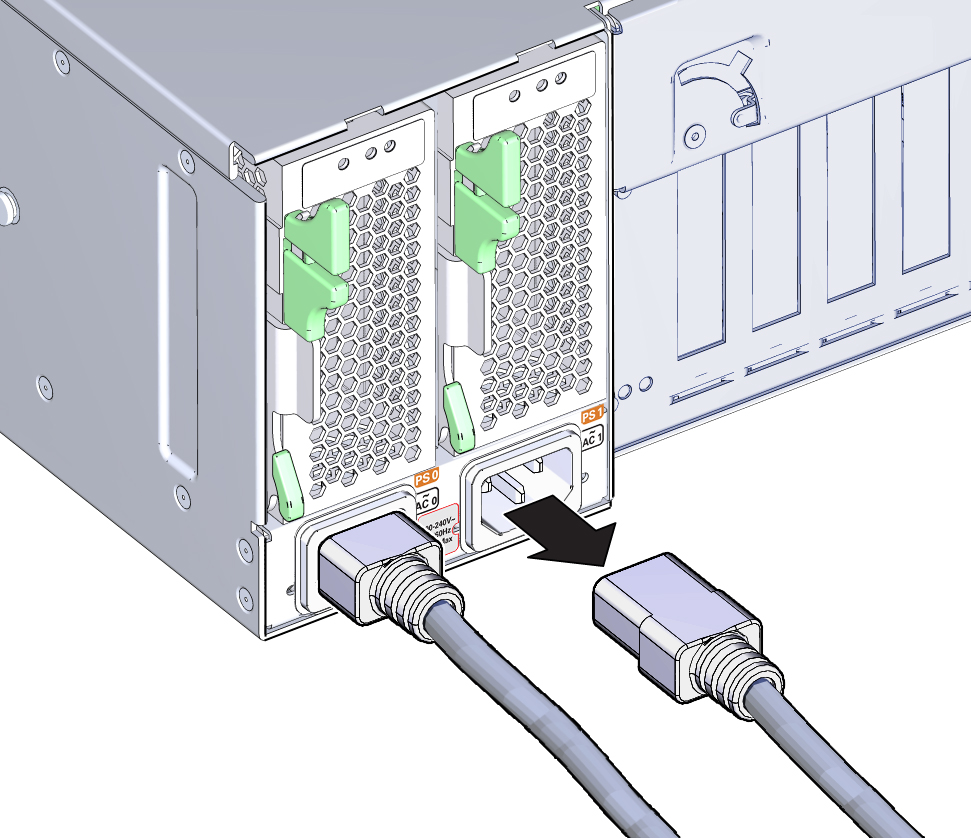
Disconnect the power cord from the failed power supply.

-
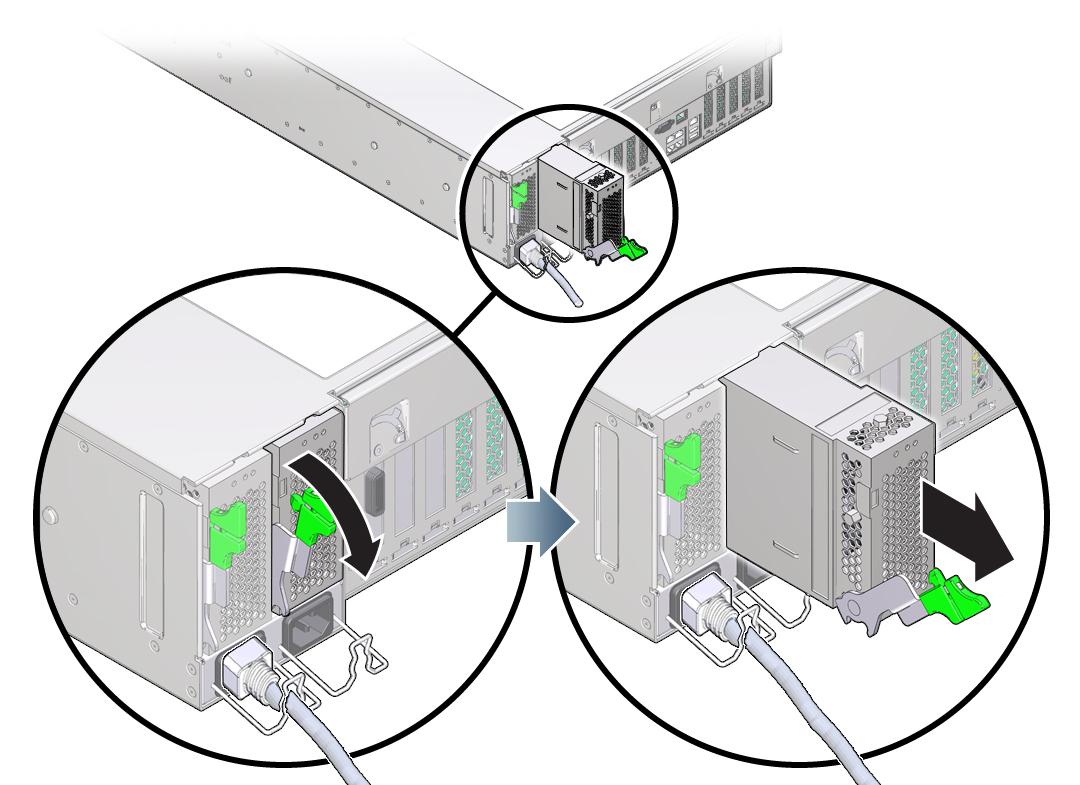
To unlock the power supply handle, squeeze the release latch.

-
To disengage the power supply, rotate the release latch fully downward.
Note - If you are replacing the power supply backplane board, the completion of this step concludes the partial removal of the power supply. The power supply is now disengaged from the internal power supply backplane connector. - To remove the power supply, use the latch to slide it partially out of the chassis until you can support it with your free hand and remove it completely.
- To install a power supply, see Install a Power Supply.
- If you performed a cold-service procedure, power on the server.