Power On the Switch
Connect the power cords to power on the switch.
-
Determine your first step:
- If you serviced a component that did not require you to power off the server, continue to Verify the Serviced Component.
- If you replaced the switch itself, or if you have removed the power cords for another reason, continue to the next step.
-
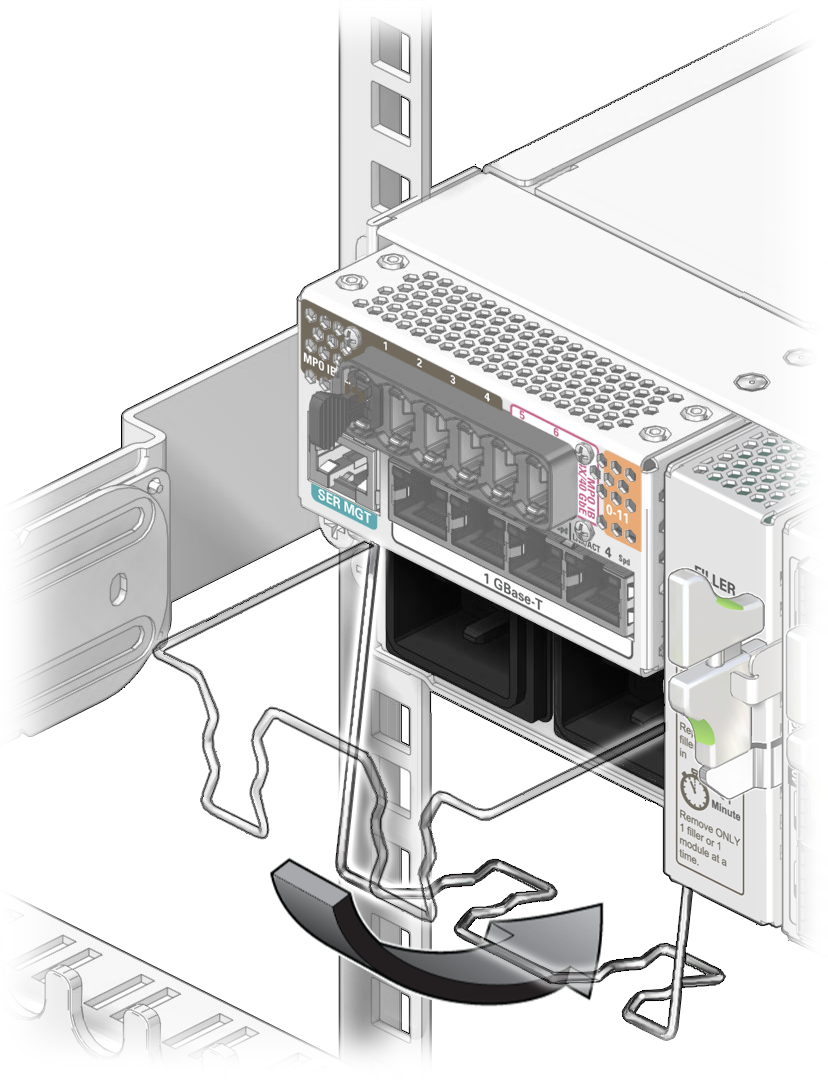
Lower the retaining wire in front of the rear power receptacles.
See Rear Panel Components for the location of the power receptacles.

-
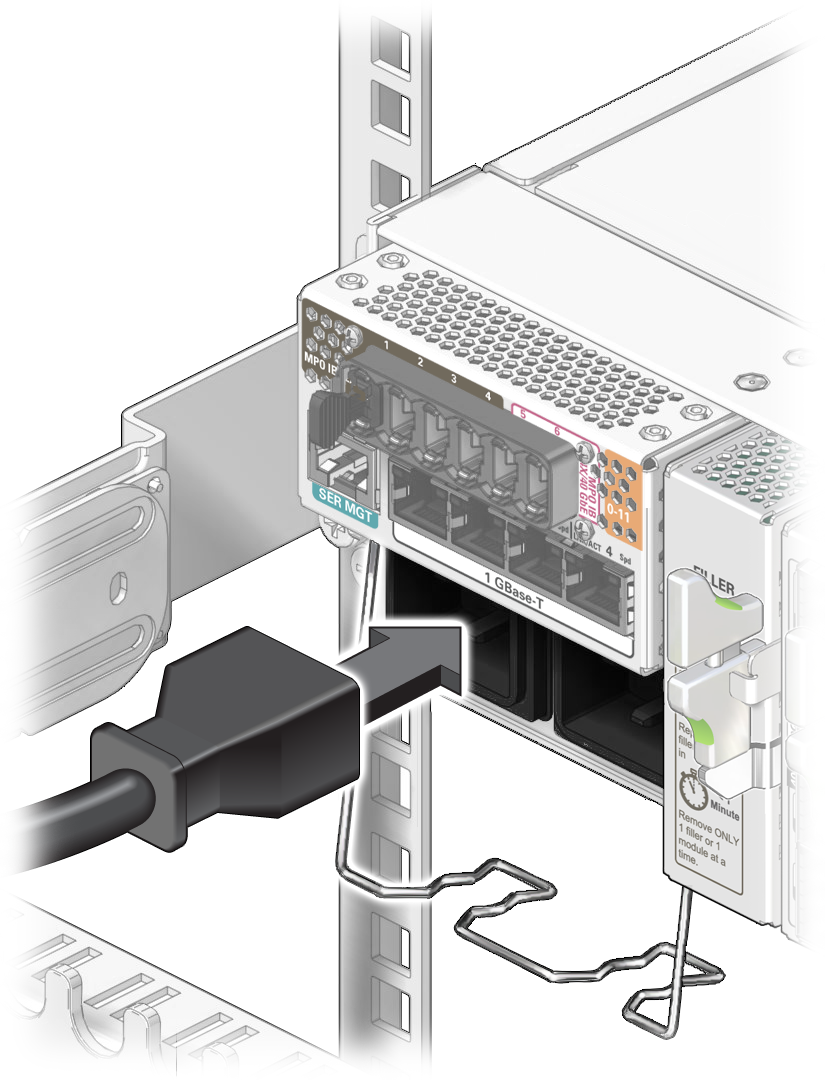
Install the power cords in the rear power receptacles.
Note - Installing either power cord will power on the switch.Ensure that you the power cords are installed securely.

-
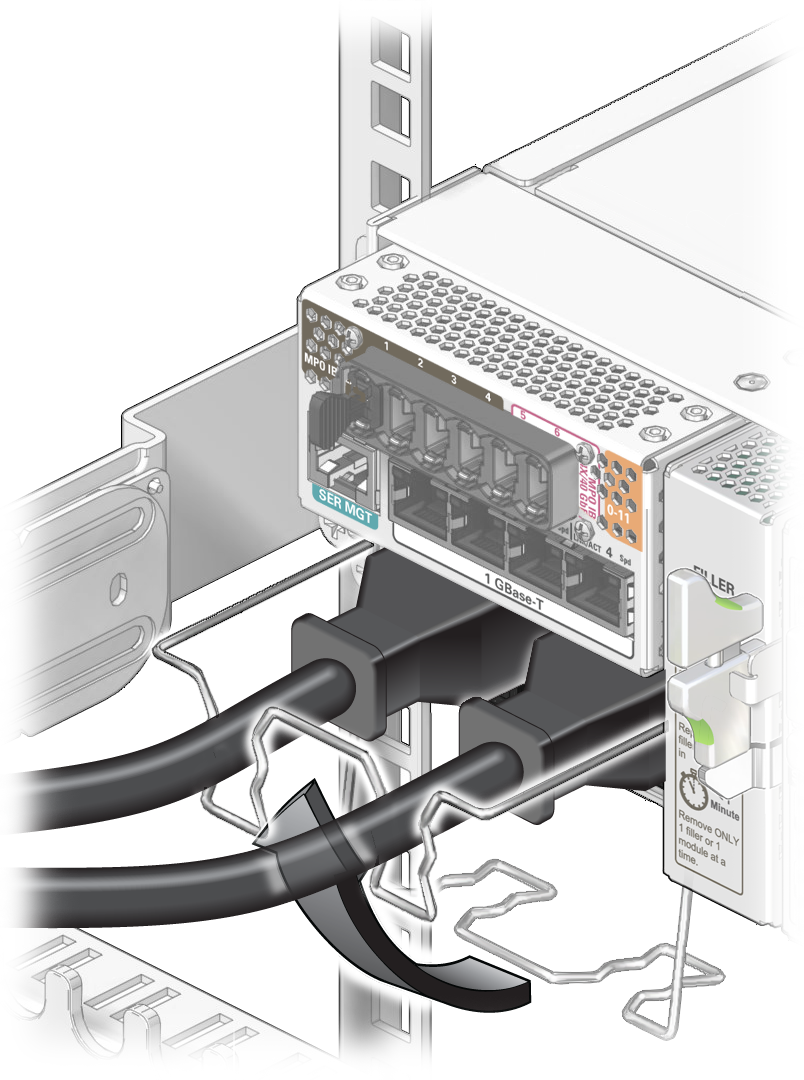
Lift the retaining wire to secure the power cords to the switch.

-
At the front of the switch, verify the power supply LEDs.
For a description of these LEDs, see Power Supply LEDs.
-
The AC LED lights green to indicate that the power supplies are connected to facility power.
-
A moment later, the OK LED lights green to indicate the power supplies are at full power.
-
-
If you replaced a power supply as part of a service operation, verify that the
power supply Attention LED is not on.
- If the Attention LED is on, see Verify a Power Supply, then return to this procedure.
- If the Attention LED is off, continue to the next step.
- Continue to Verify the Serviced Component.continue to Verify the Serviced Component.