Remove a Data Cable
Removing a single data cable is a hot-swap operation. If you are removing all data cables as part of a switch replacement, the switch must be powered off.
This task describes how to remove the cables from the switch, so that the cable can be replaced. Whenever possible, label each end of the cable with the port number and location. If you are removing all cables for switch replacement, start removing the cables from the left side of the switch, working your way to the right.
Note - These instructions are valid for both IB and Ethernet data cables.
- Determine which data cable to remove.
-
Consider your next step.
- If you have not performed the tasks as directed in Preparing for Service, you must do so now.
- If you have completed those prerequisite tasks, continue to the next step.
- Locate the cable to be removed.
- (Optional) If necessary, label that cable so that its corresponding port, its peer, or both, are identified.
-
Consider your next steps.
If you are removing all cables for switch replacement, start with the PrizmMT cables.
-
Remove a PrizmMT cable.
-
Pinch the PrizmMT cable connector housing between your thumb and
forefinger.
The housing is either magenta or black colored.
From the chassis.
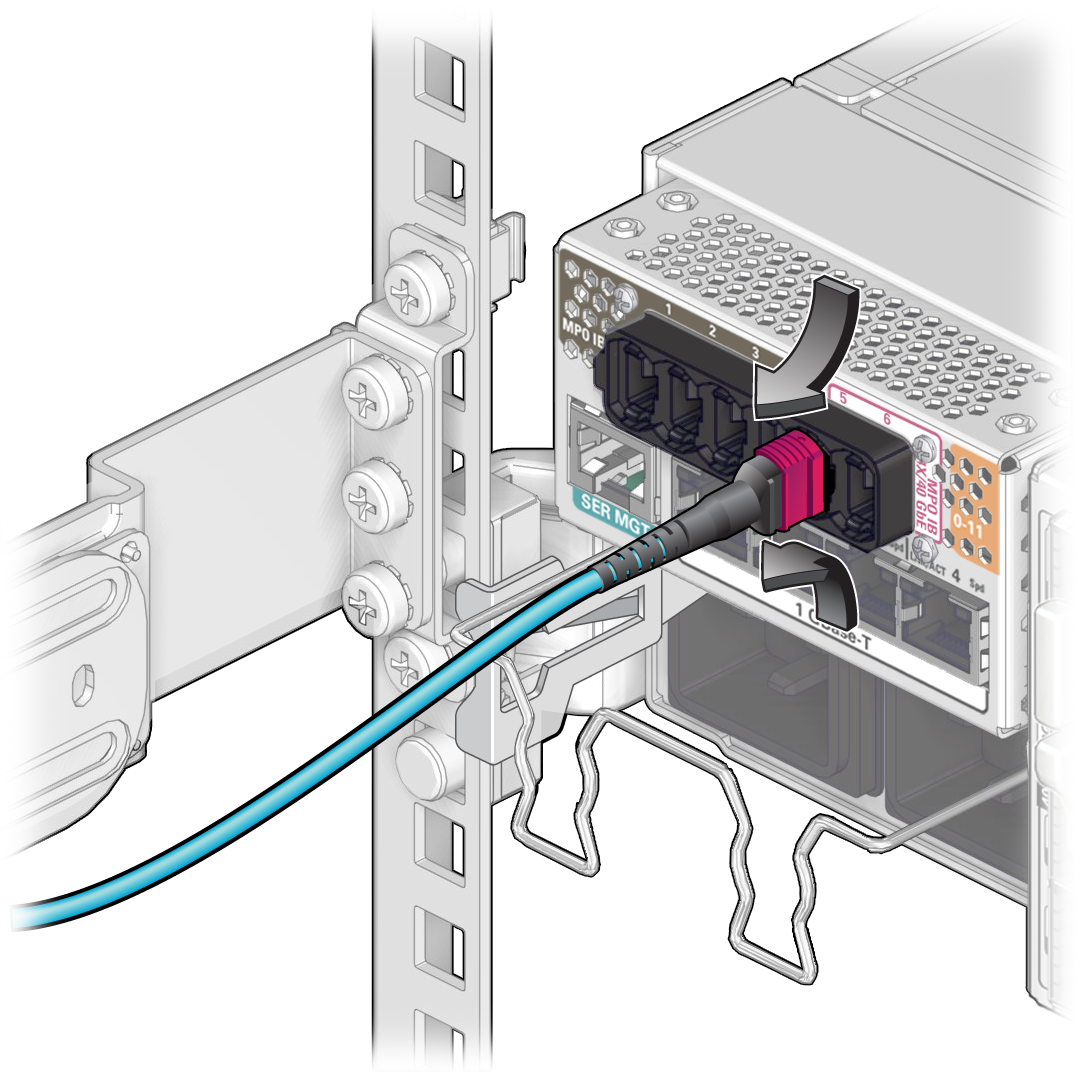
- With a steady force, pull the PrizmMT connector straight out of the receptacle.
- Insert a filler plug into the receptacle.
- Go to Step 10.
-
Pinch the PrizmMT cable connector housing between your thumb and
forefinger.
-
Remove an assembled fiber optic QSFP cable.
-
Grasp the release collar on the MTP connector and pull back.
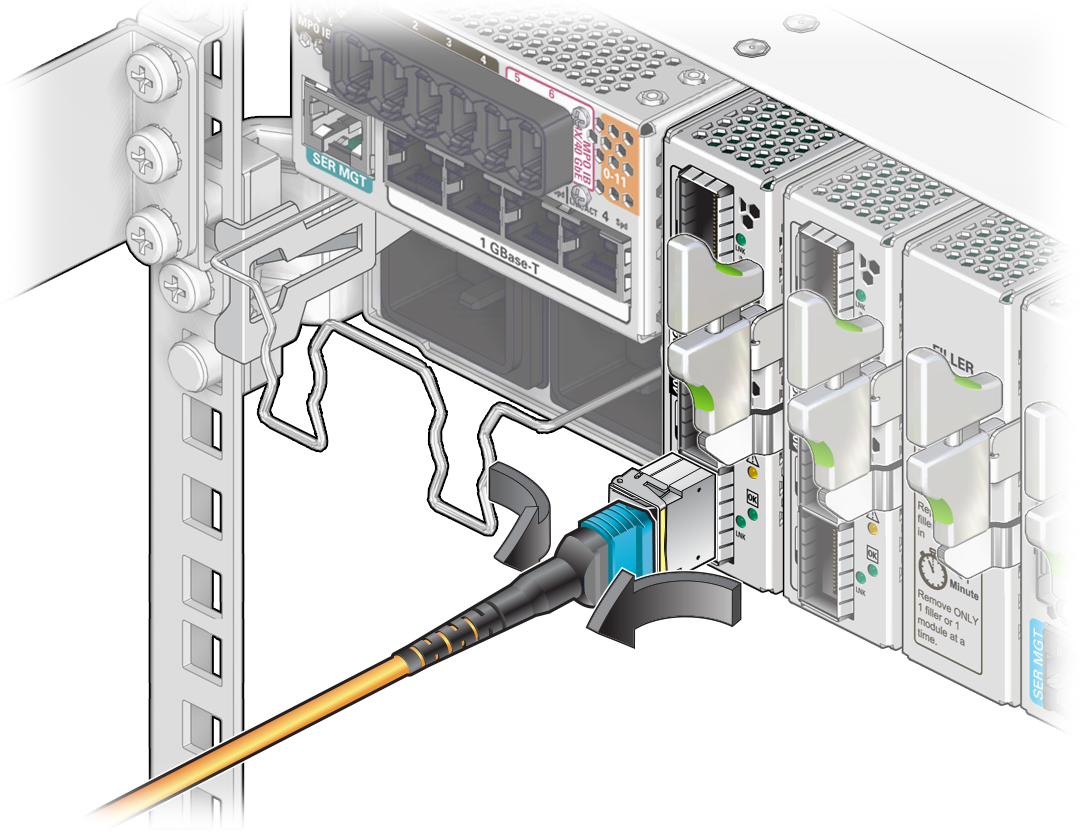
The LC connector and fiber optic cable come free of the transceiver.
-
Release the latch on the QSFP transceiver and pull on the latch to
remove the transceiver.
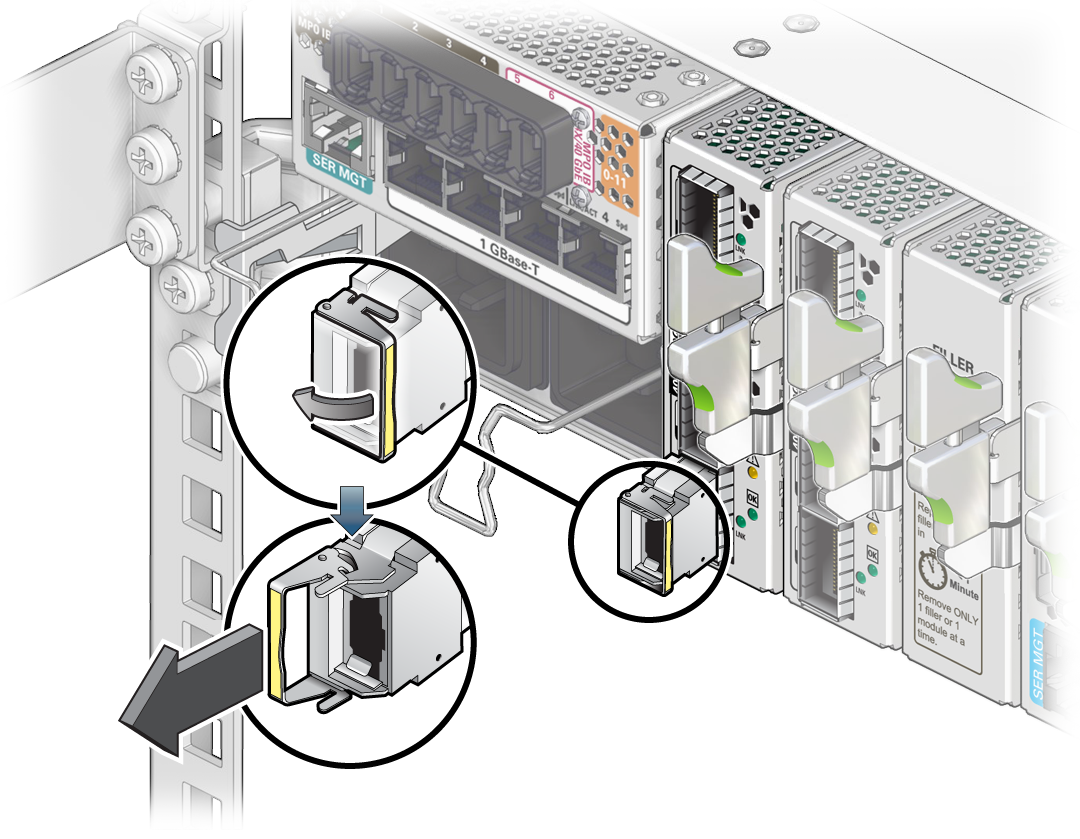
The transceiver comes free.
- Set the transceiver aside.
- Go to Step 10.
-
Grasp the release collar on the MTP connector and pull back.
-
Remove an LC cable.
-
Press the release tab on the LC connector and pull back.
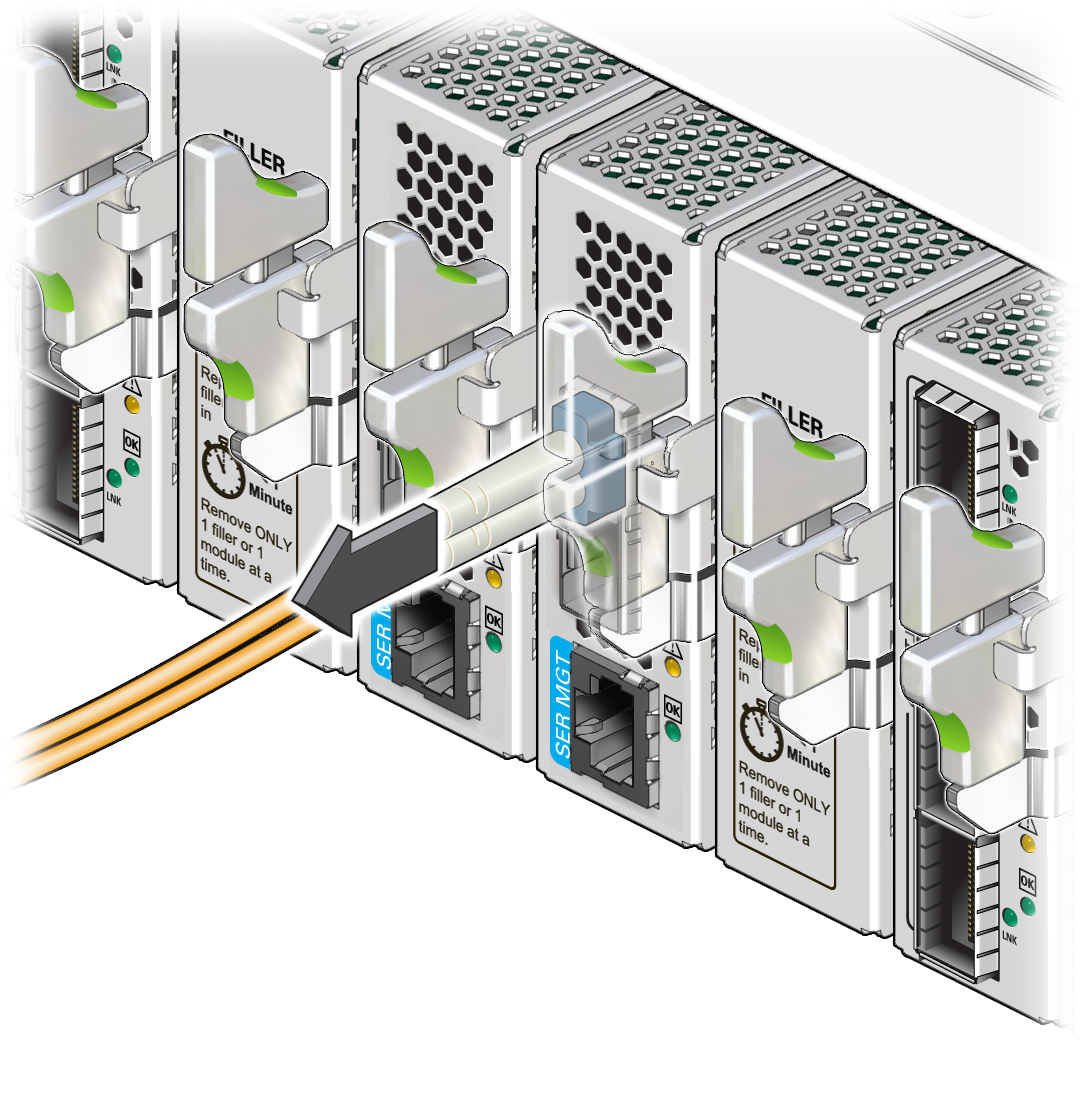
The LC connector and fiber optic cable come free of the transceiver.
- Go to Step 10.
-
Press the release tab on the LC connector and pull back.
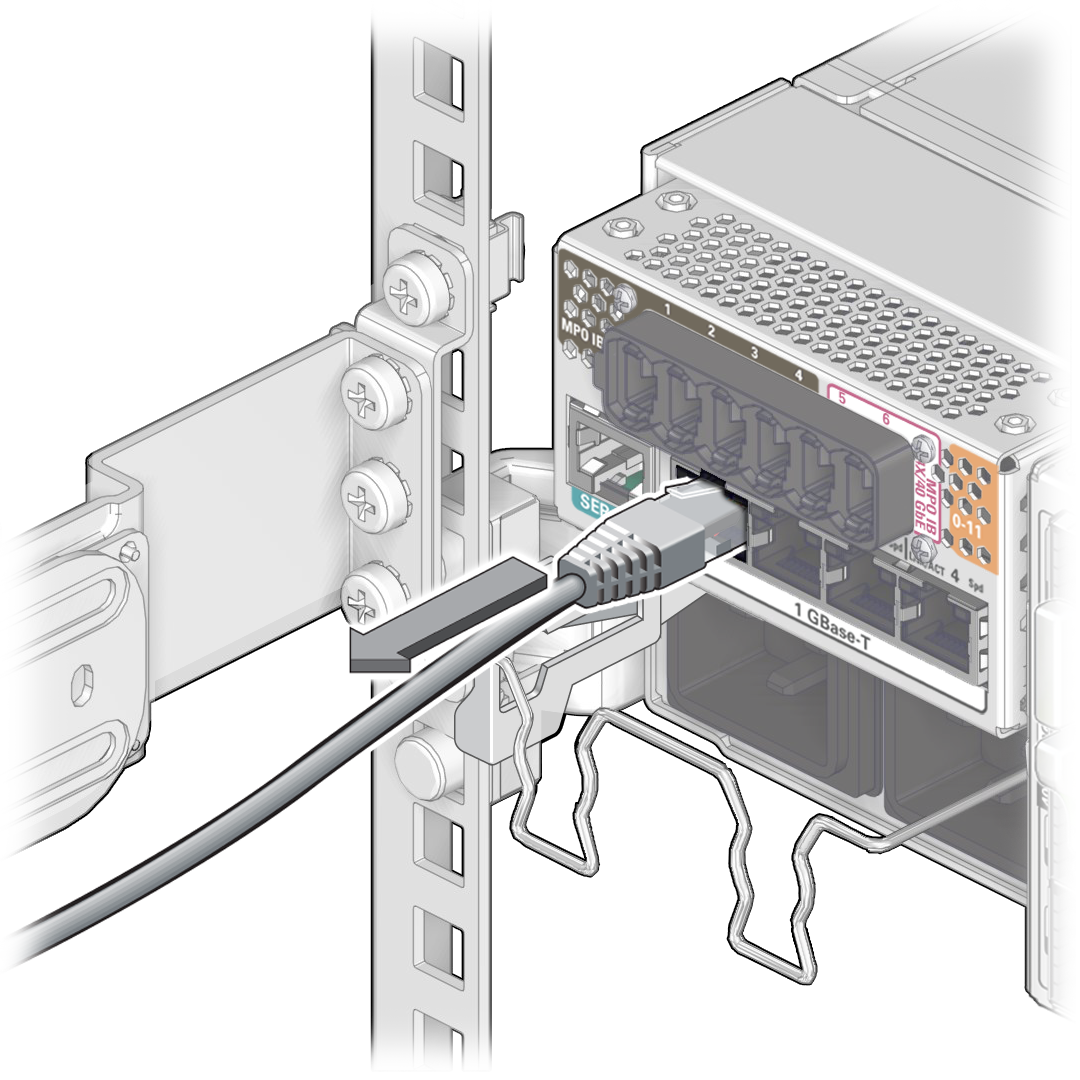
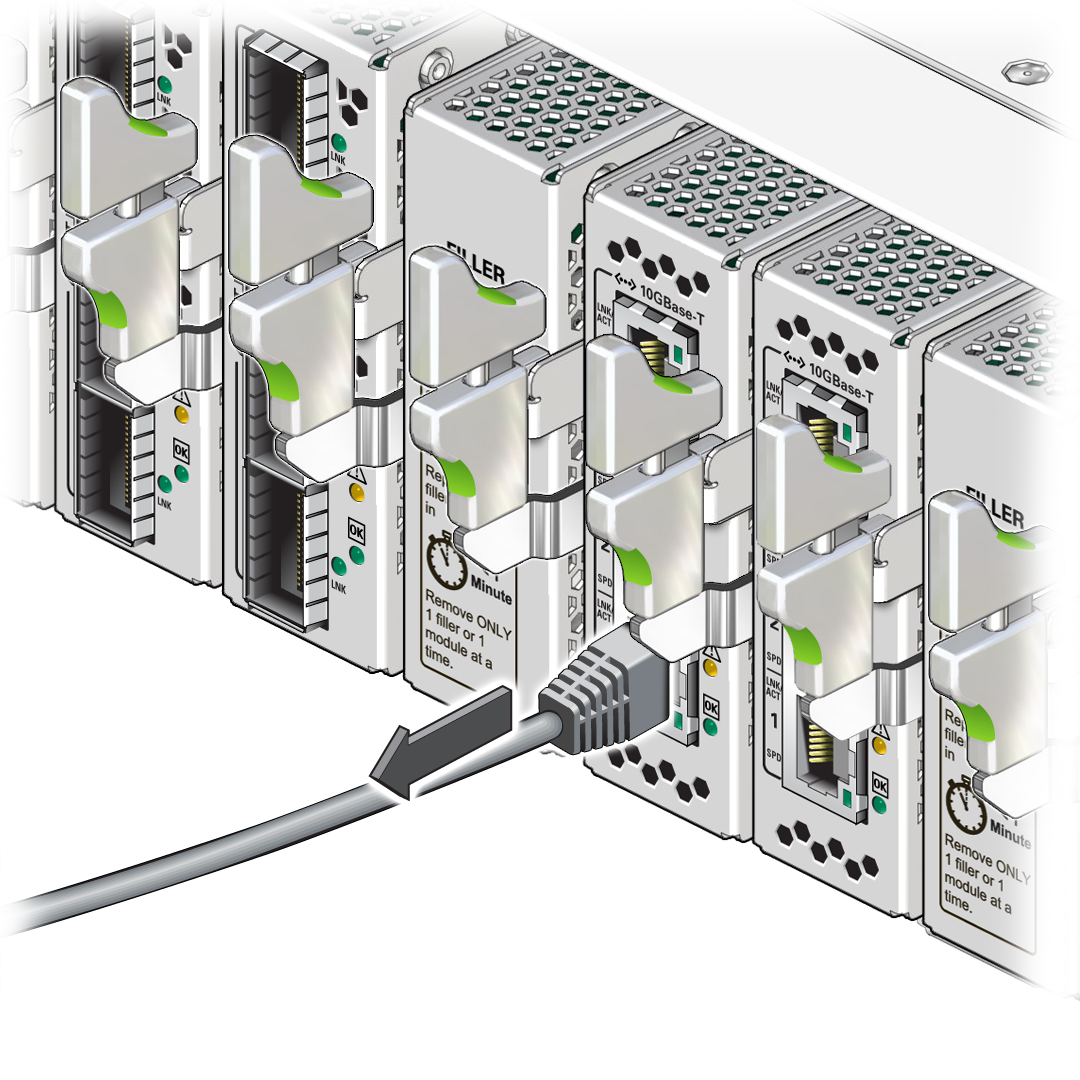
- Remove an RJ-45 cable.
- Carefully move the cable out of the cable management comb.
- Cap the end of the cable if possible.
- Repeat Step 3 to Step 11 for any additional cables to be removed.
-
Consider your next steps.
-
If you removed a data cable as part of a replacement operation,
disconnect the other end of the cable, and install a new data cable.
See Install a Data Cable.
- If you removed all of the data cables as part of another service task, return to that task now.
-
If you removed a data cable as part of a replacement operation,
disconnect the other end of the cable, and install a new data cable.
