Adding a Disk Shelf Cache Device
Use the following procedure to install a new cache device, an SSD, into an available and appropriate drive slot. Cache devices can be added without removing power from the disk shelf. To replace a faulty drive, see Replacing a Faulty Disk Shelf Drive.
- Remove the filler panel from the appropriate slot. For SSD locations and slot order, see the Disk Shelf Hardware Overview.
- Ensure the new drive lever is in the fully extended position.
-
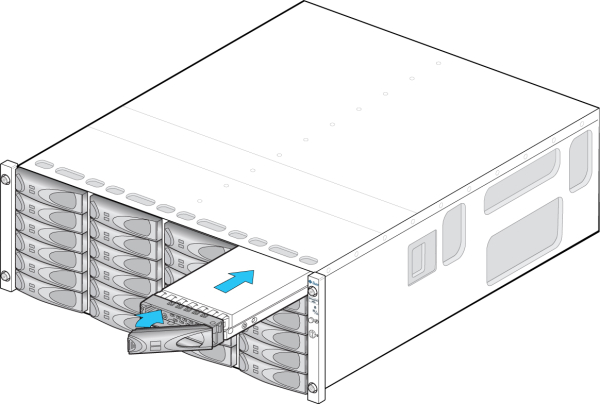
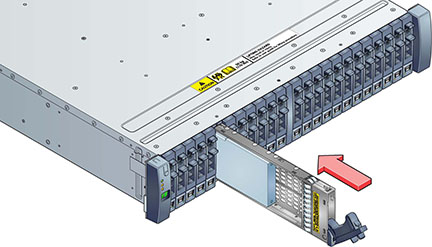
While constantly pushing toward the pivot point of the lever, slide the
drive fully into the chassis slot.

- OR -

- Press the drive lever closed until it locks in place. If a vertically oriented drive is higher than surrounding drives, push down on the top of the drive to properly seat it. The Activity LED will be steady green to indicate a ready state.
-
Go to the Maintenance > Hardware section of the BUI, click the
right-arrow icon
 at the beginning of the appropriate disk shelf row, and
then click Disk. Verify that the new disk is present and that its disk icon
  is green.
- To add the new drive to a pool, go to Configuration > Storage.
- From the Available Pools list, select the pool you are adding the drive to.
- Click the Add button to add the drive to the pool.
- Select the drive you are adding to the pool, and click Commit.
- Select the log profile (if applicable), and click Commit.