Attach Tool-less Slide-Rail Assemblies
Use this procedure to attach tool-less slide-rail assemblies to the rack.
-
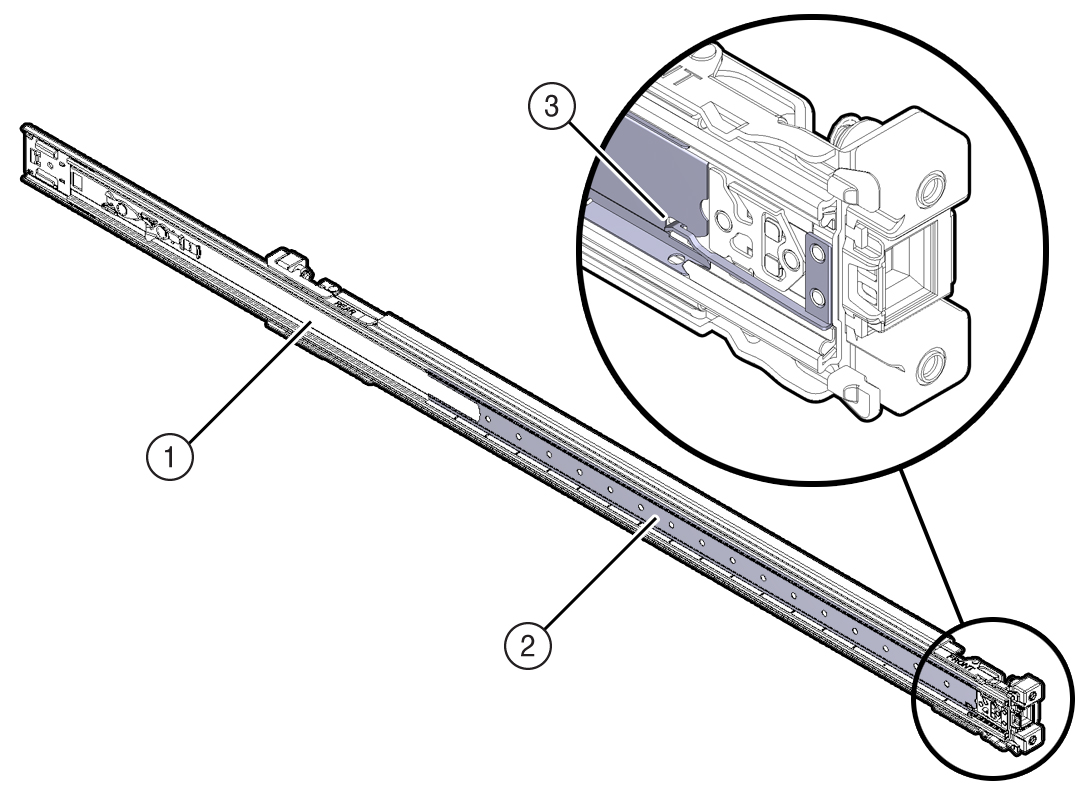
Orient the slide-rail assembly so that the ball-bearing track is forward
and locked in place.
 No.Description1Slide-rail2Ball-bearing track3Locking mechanism
 -
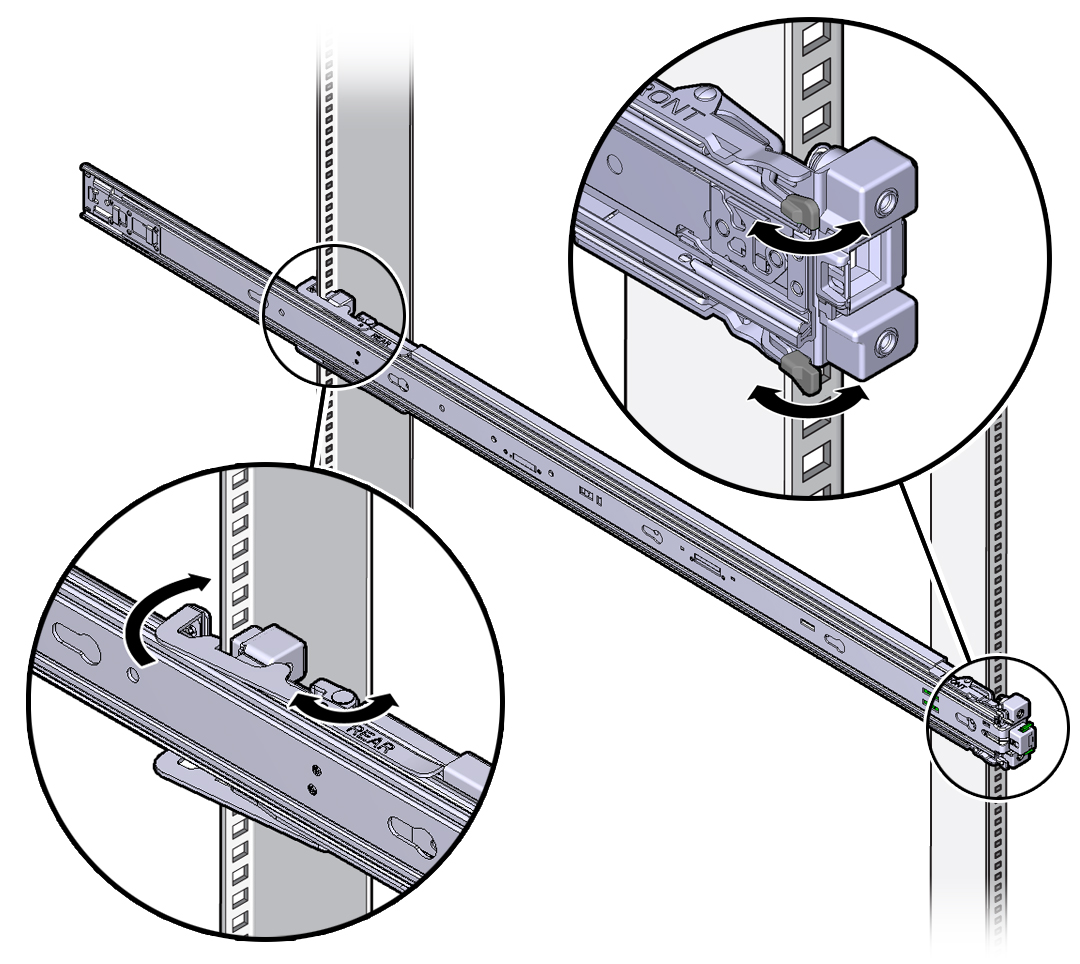
Starting with either the left or right side of the rack, align the rear of
the slide-rail assembly against the inside of the rear rack rail, and push
until the assembly locks into place with an audible click.

- Align the front of the slide-rail assembly against the outside of the front rack rail, and push until the assembly locks into place with an audible click.
- Repeat Step 1 through Step 3 to attach the slide-rail assembly to the other side of the rack.
-
Install the compute node into the slide-rail assemblies.
See Install the Compute Node Into the Slide-Rail Assemblies.