Connect an Original PDU to a DHCP Network
-
Gather the following:
-
Access to the PDU metering unit
-
An Ethernet cable to connect the metering unit to the network
-
Two people—one to connect the power input lead and another to press the reset button on the metering unit
-
A system on the network to log into the PDU metering unit
-
-
Confirm with your network administrator that your DHCP server can accept
new media access control (MAC) addresses.
For security reasons, some network administrators disable devices with unknown MAC addresses from connecting to the DHCP network.
- If you have already connected the PDU's power input leads to the AC power source, disconnect the power input leads to power off the PDU.
- Connect an Ethernet cable to the PDU metering unit's RJ-45 Ethernet port and to the network.
-
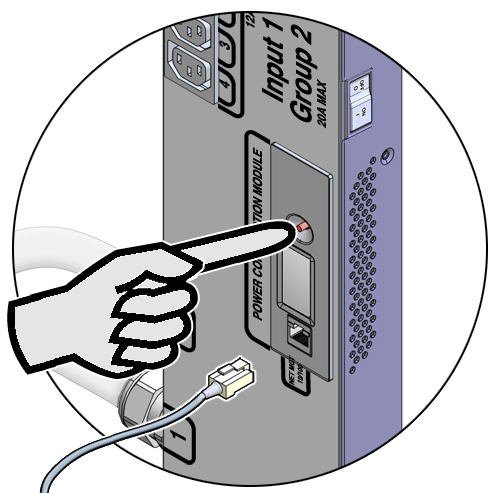
While one person presses and holds down the PDU metering unit reset
button, another person must connect the PDU power input lead to the AC power
source.

Connect only one PDU power input lead to power on the metering unit:
- On PDUs that have one power input lead, connect that one power lead to the AC power source.
- On PDUs with two power leads, connect the first power lead (labeled 0) to the AC power source.
- On PDUs with three power input leads, connect the middle power lead (labeled 1) to the AC power source.
When you power on the PDU metering unit while pressing down on the reset button, you temporarily enable it to connect to a DHCP network. The DHCP server assigns an IP address to the metering unit and connects it to the network. However, if the PDU resets or power cycles, the PDU metering unit forgets this temporary DHCP setting.
-
Ask your network administrator for the IP address that the DHCP server
assigned to the PDU metering unit.
Refer to the DHCP server's documentation for instructions on listing devices connected to the DHCP network.
Note - The metering unit's LCD screen displays the IP address while the PDU powers on. See Monitor an Original PDU (LCD Screen) for more information. -
Type the metering unit's IP address into the web browser's address line.
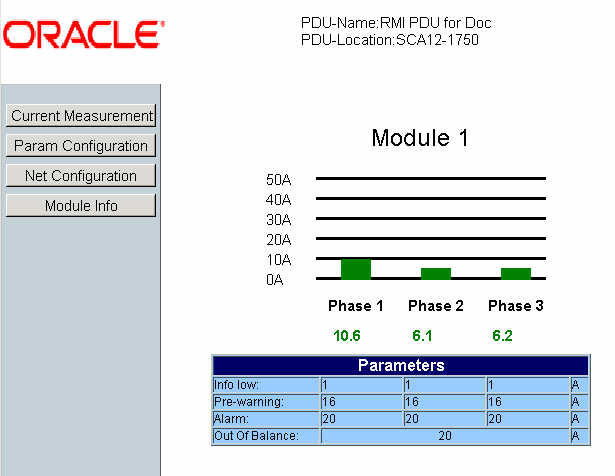
On a system connected to the network, use a web browser to log on to the PDU metering unit. Once connected, the web browser displays the Current Measurement page.

-
Click the Net Configuration link on the upper left side of the
page.
The browser prompts you to log into PDU metering unit.
-
Log in to the PDU metering unit as an admin user.
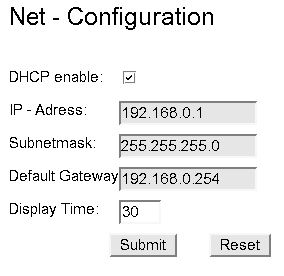
See Login Information. Once logged in, the browser displays the Network Configuration page.
-
Click the DHCP enable checkbox to make the metering unit obtain IP
addresses only from DHCP servers.
After clicking this checkbox, the other IP address configuration fields become unavailable.

-
Click the Submit button to reset the PDU metering unit.
After resetting, the PDU metering unit obtains a new IP address from the DHCP server. Ask your network administrator for the IP address that the DHCP server assigned to the PDU metering unit.
- If necessary, connect the remaining PDU power input leads to the AC power source.