Install a Power Module
-
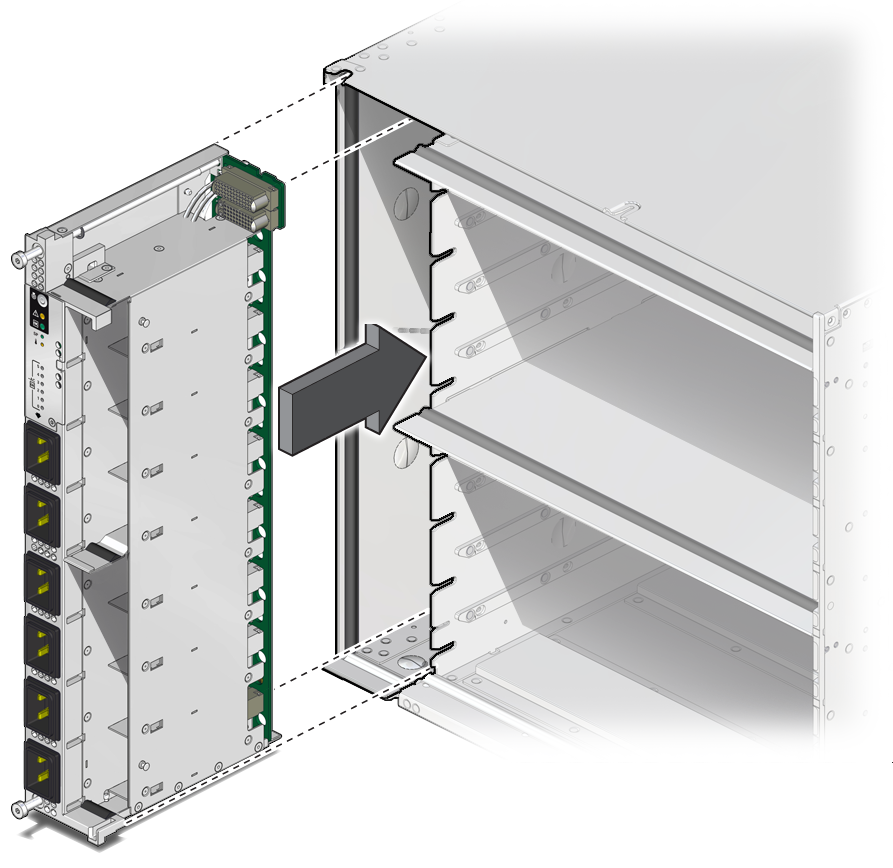
Slide the power module part way in and position it with the slot in the side
wall.
When the module is about 1 inch from being seated in the chassis, locate the spool standoff on the left side and the slot in the chassis side wall. Press the side wall while sliding the module into the chassis to ensure that the spool slides properly into the chassis slot.

-
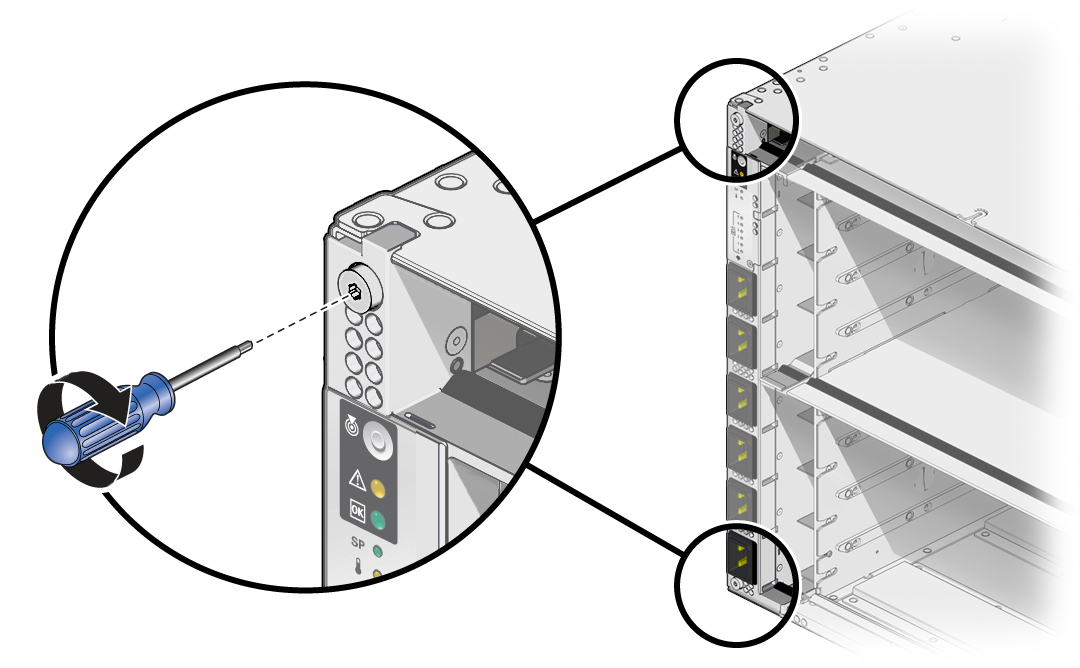
Use a T20 driver to tighten two captive screws on the top and bottom of the
power module to secure it to the chassis.

-
Complete the following steps to reinstall components you removed to service
the power module:
-
Reinstall all PDECBs.
See Servicing PDECBs.
- Reseat the power supplies.
-
Reinstall the SP tray and the SPs.
See Servicing SP Trays and Servicing SPs.
- Reinstall the following components.
-
Reinstall all PDECBs.
- Return the server to operation.
- Verify that the fault has been cleared and the replaced component is operational.
- Return the replaced component to Oracle.