Oracle® InfiniBand Switch IS2-46 Service Manual

Exit Print View

Updated: September 2016


Remove the Air Duct Assembly

  1. If the rack front door is installed, open it.
  2. Grasp the air duct assembly at the left and right edges.
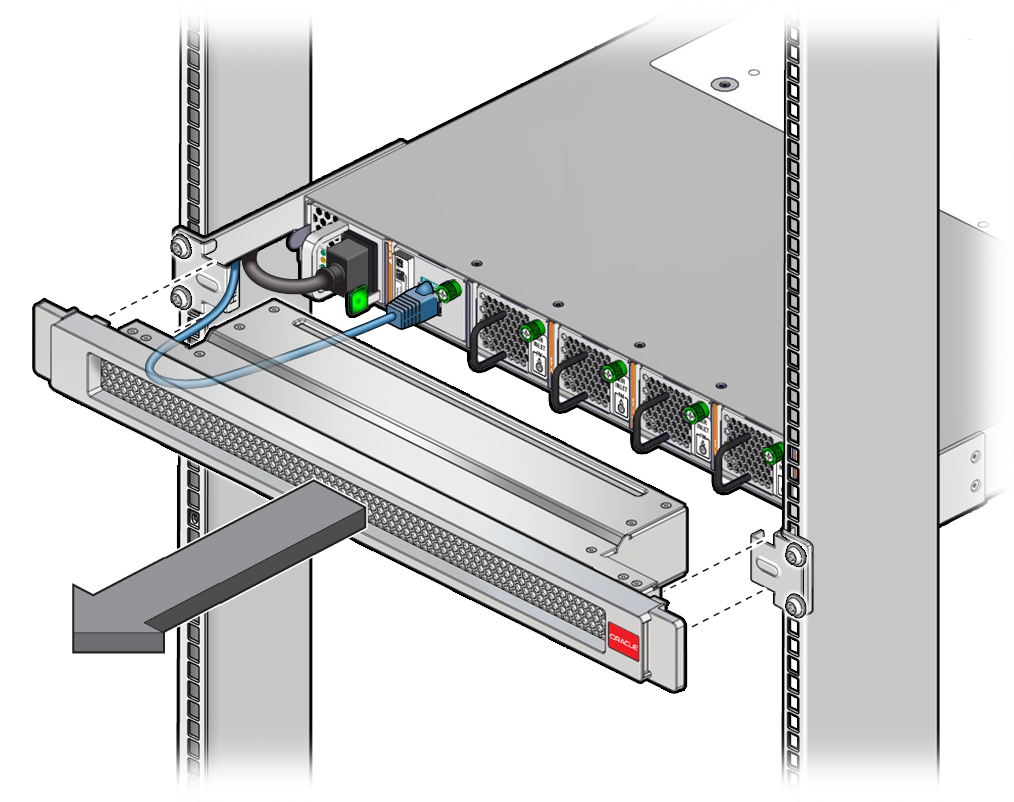
    image:Illustration show how to grasp the air duct assembly.
  3. Pull the air duct assembly straight out of the rack.
  4. Consider your next step.
    • If there is no SER MGT connection, set the air duct assembly aside.
    • If you have a full-time SER MGT connection:
      1. Disconnect the SER MGT cable from the SER MGT port.
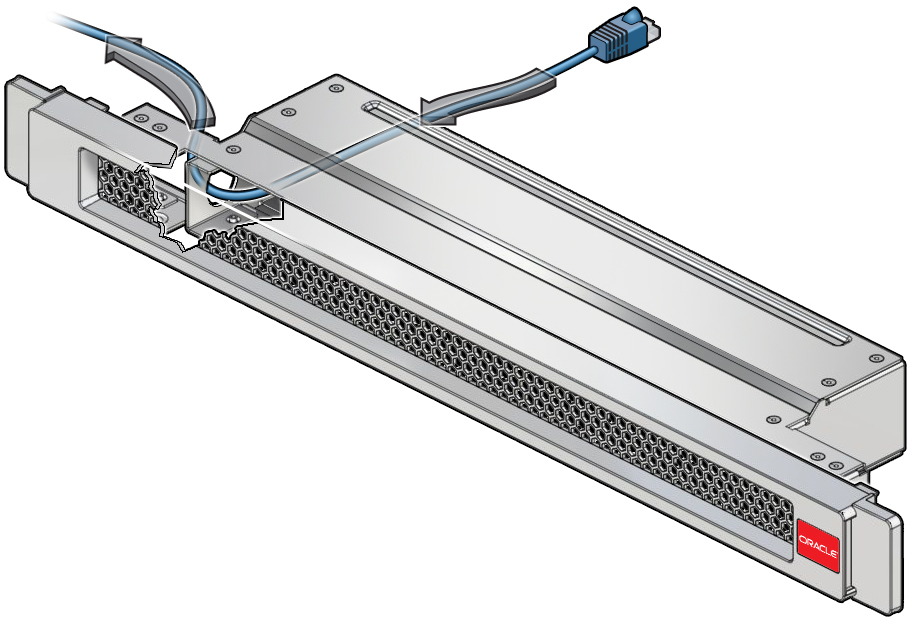
      2. Pass the SER MGT cable back through the air duct assembly until the cable is free.
        image:The illustration shows the SER MGT cable passing                                             back out the side of the air duct assembly.
      3. Set the air duct assembly aside.
  5. (Optional) Read the chassis serial number from the plastic strip.
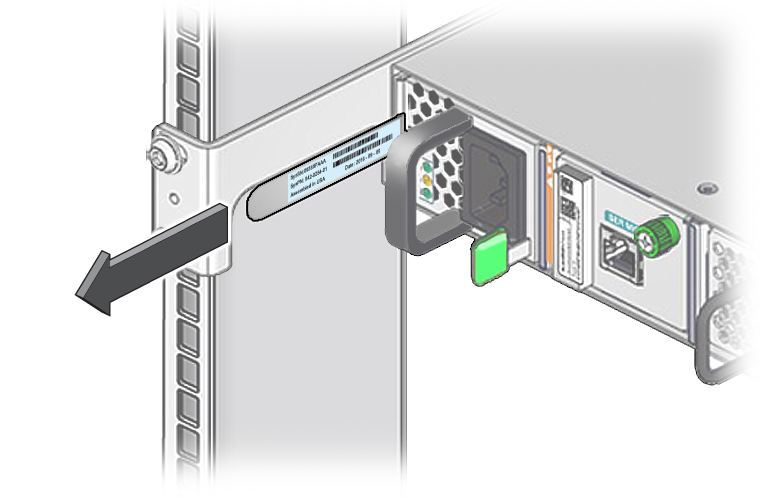
    1. Pull the plastic strip that is to the left of the left power supply.
      image:The illustration shows pulling the plastic strip.
    2. Read the serial number.
    3. Slide the strip back into the chassis.
    4. If you are not performing further service on the switch, install the air duct assembly.

      See Install the Air Duct Assembly.

  6. (Optional) Read the chassis serial number from the RFID tag.
    1. Place the RFID reader sensor next to the RFID tag on the SMM.
    2. Read the serial number.
    3. If you are not performing further service on the switch, install the air duct assembly.

      See Install the Air Duct Assembly.

  7. Consider your next task.

Related Information