Prepare the Server for Operation
-
Ensure that all components are completely installed.
Check for disconnected cables and unseated components and connect and install them correctly.
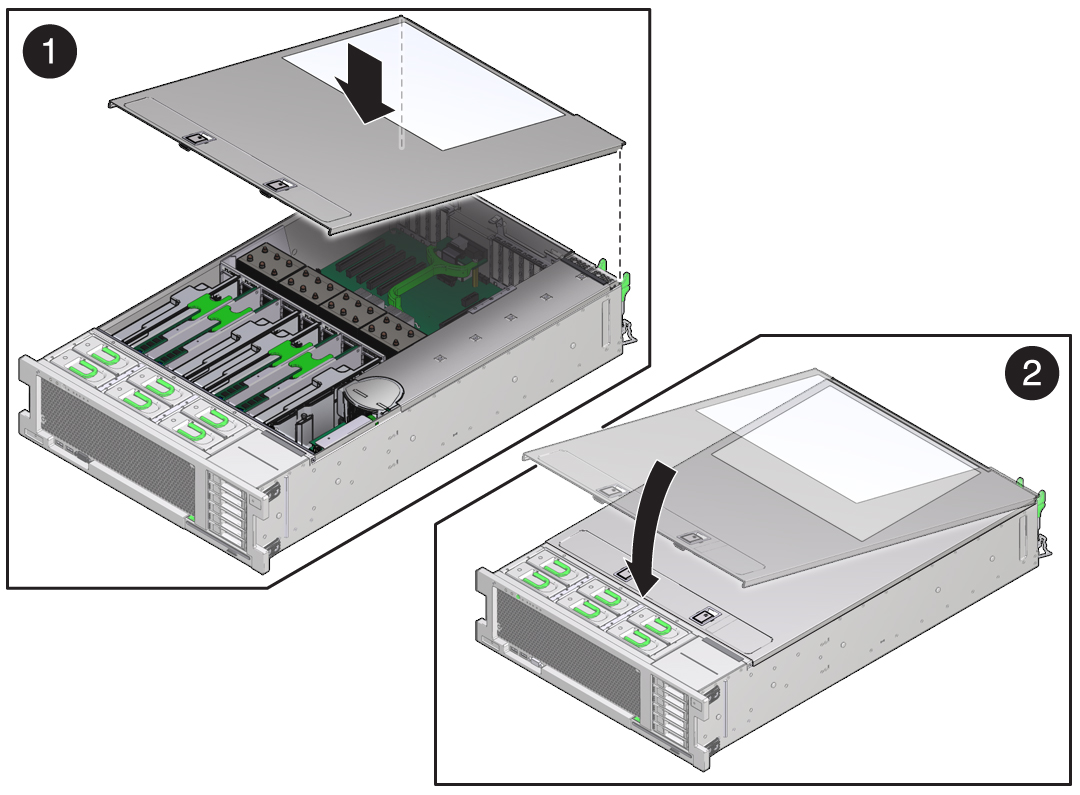
- Place the cover on top of the server with the two latches at the front.
- Ensure that the edges of the cover encapsulate the server sidewalls.
-
Lift the front edge of the cover and slide the cover away from the rear of the server about 1
inch (2.54 cm).
This action ensures that the rear edge of the cover is positioned correctly.
-
Slide the top cover toward the rear of the server, so that the rear edge of the cover slips
under the retaining clip on the back wall of the server.

-
Set the front edge of the cover on the server.
Ensure that the cover is properly seated and that both latches are fully engaged.
- Lift both latches and firmly push down on the front edge of the cover until both latches lock with an audible click.
- Release the latches and verfy that the cover is locked down.
- (Optional) If you removed the server entirely from the rack, install it now.
-
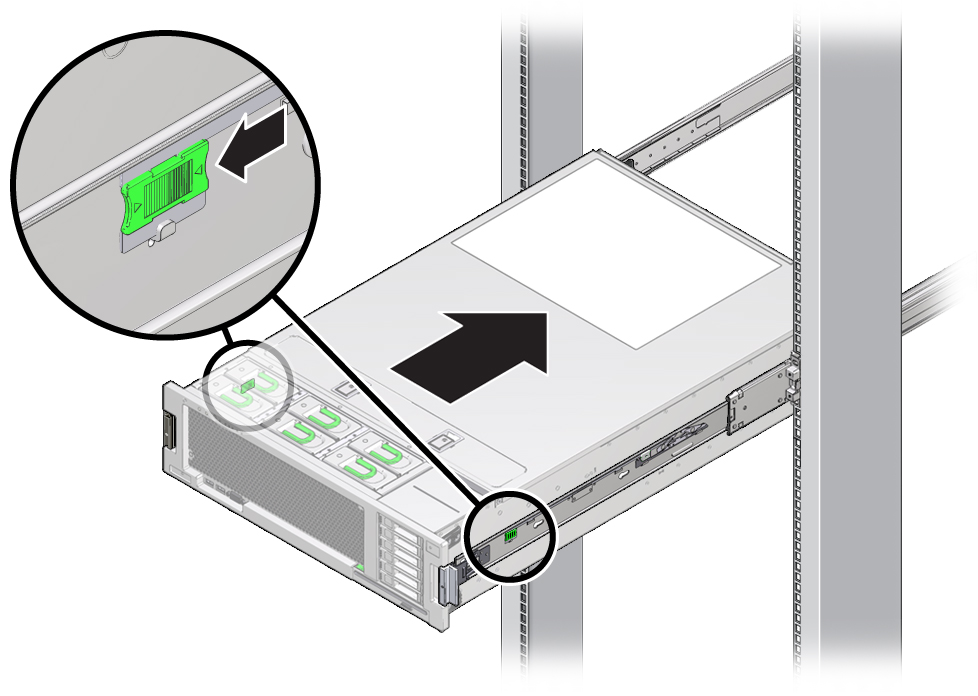
To return the server to its normal rack position, do the following:
-
Pull the both side rail release tabs toward the front of the server and slowly push the server
into the rack.

-
Pull the both side rail release tabs toward the front of the server and slowly push the server
into the rack.
- Verify that the server is securely mounted in the rack and that the slide-rail locks are engaged with the mounting brackets.
-
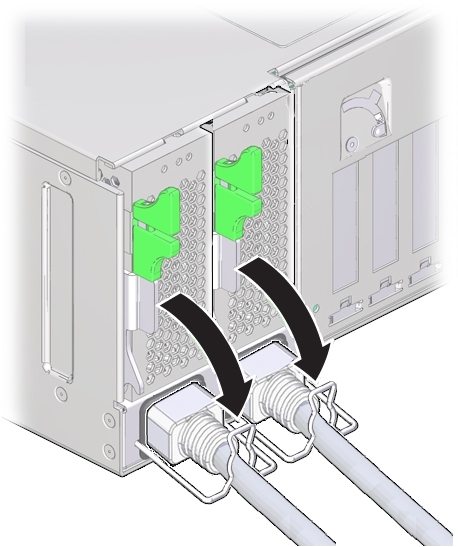
At the rear of the server, connect the AC power cords to the server power supplies.
When the power cords are connected to the server, the server powers on to standby power mode.
-
Secure the power cords with the power cord retaining clips.

-
Connect any other cables to their connectors or ports on the back of the server.
If the cable management arm (CMA) is in the way, disconnect the left CMA release and swing the CMA open.
-
If necessary, reconnect the CMA.
See (Optional) Install Cable Management Arm.
Swing the CMA closed and latch it to the left rack rail.
-
Power on the server.
See Power On the Server.