Install a Memory Riser Card
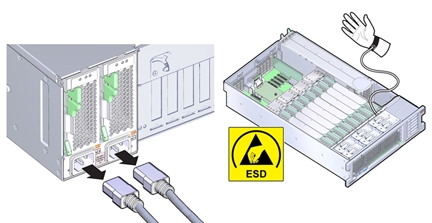
When servicing the components in this section, unplug the AC power cords and use ESD protection.

Use this procedure to install a memory riser (MR) card into its slot.
Before You Begin
-
For serviceability considerations, see Component Serviceability.
-
For DIMM designation information, see Component Designations.
-
For reference information, see Memory Riser Card and DIMM Reference.
-
Ensure that all populated and unpopulated DIMM slot ejector levers are in the closed and
locked position.

Caution - Component damage. Open DIMM ejector levers can break off during the installation of the memory riser (MR) card. All populated and unpopulated DIMM slot ejector levers on the MR card must be in the fully-closed and locked position before installing the card in the server.
-
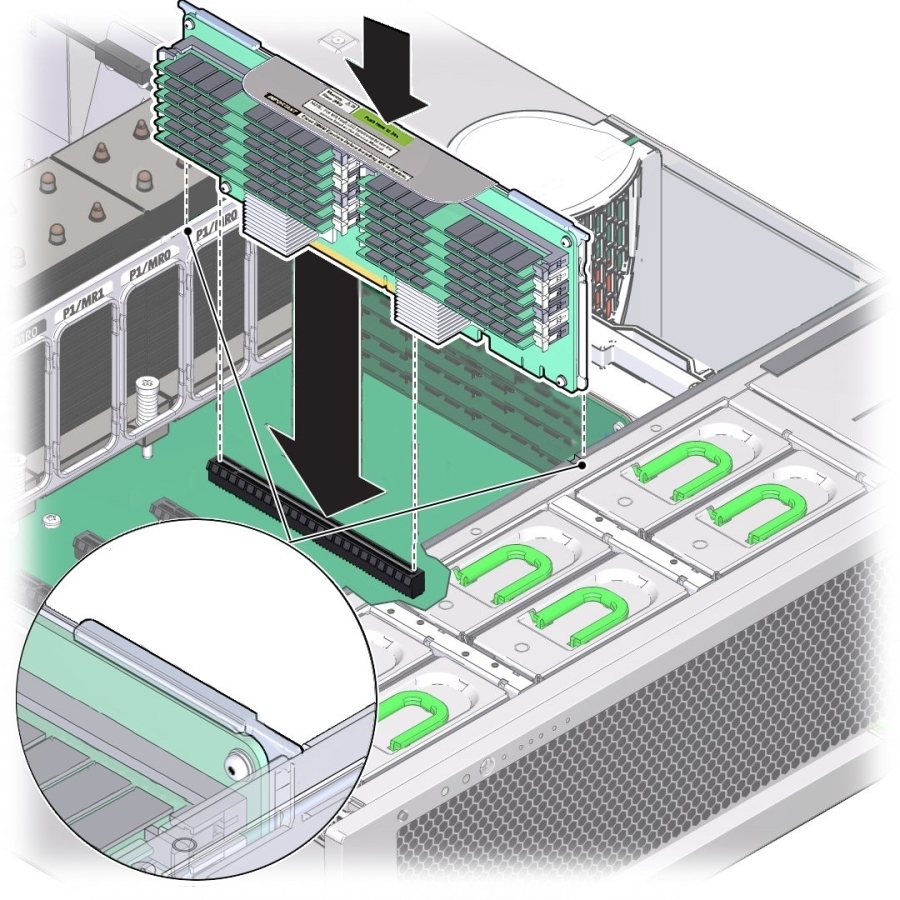
Install the MR card as follows:
-
Ensure that the MR card ejector levers are in the closed position.
The ejector levers are only used to remove a MR card and are not used to install a card. See the illustration below.
-
Align the MR card with its slot on the motherboard.
The DIMMs on the card must face the left (when looked at from the front of the server).
-
Carefully lower the card on to the slot.
Ensure that the card is in the provided card guide channels. See the illustration below.
-
To seat the card into the slot, firmly push down on the green "Press here to insert" label on
the metal bracket on top of the card.
This action seats the card in the connector on the motherboard.

-
Ensure that the MR card ejector levers are in the closed position.
- Prepare the server for operation.
See Also