Replace a Faulty Memory Riser Card
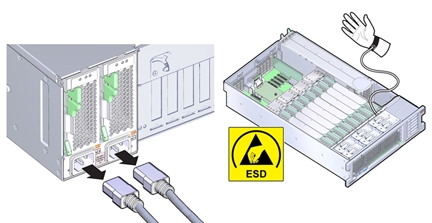
When servicing the components in this section, unplug the AC power cords and use ESD protection.

Before You Begin
-
For serviceability considerations, see Component Serviceability.
-
For memory riser card designation information, see Component Designations.
-
For reference information, see Memory Riser Card and DIMM Reference.
- Identify the faulty MR card.
- Remove the MR card.
-
Set the faulty card next to the replacement card on an ESD-safe work space.
Tip - Position the cards in the same orientation. This makes it easier to transfer the DIMMs. -
Make note of the DIMM population configuration on the faulty card.
You must replicate this same DIMM population configuration on the replacement card. The slots are color coded. For more information, see Memory Riser Card and DIMM Reference.
Note - Ensure that you replicate the same DIMM configuration on the replacement card. -
Transfer the DIMMs from the slots on the faulty MR card to the same slots on the replacement
card:
Tip - Transfer the DIMMs from the faulty card to the replacement card one at a time.-
Remove a DIMM from the faulty MR card.
See Remove a DIMM.
-
Install the DIMM on the replacement card.
See Install a DIMM.
- Repeat the above steps until all DIMMs are transferred from the faulty card to the replacement card.
-
Remove a DIMM from the faulty MR card.
- Install the MR card.
- Prepare the server for operation.