Replace the SAS 12 Gb/s Internal HBA (FRU)
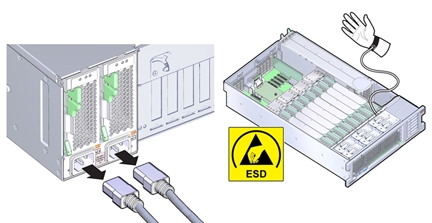
When servicing the components in this section, unplug the AC power cords and use ESD protection.

Before You Begin
If the HBA being replaced is already configured with RAID, and its configurations have been saved to a RAID configuration file, be sure to have that file on hand to restore to the replacement HBA card. Refer to the HBA documentation for details.
- Prepare the server for service.
-
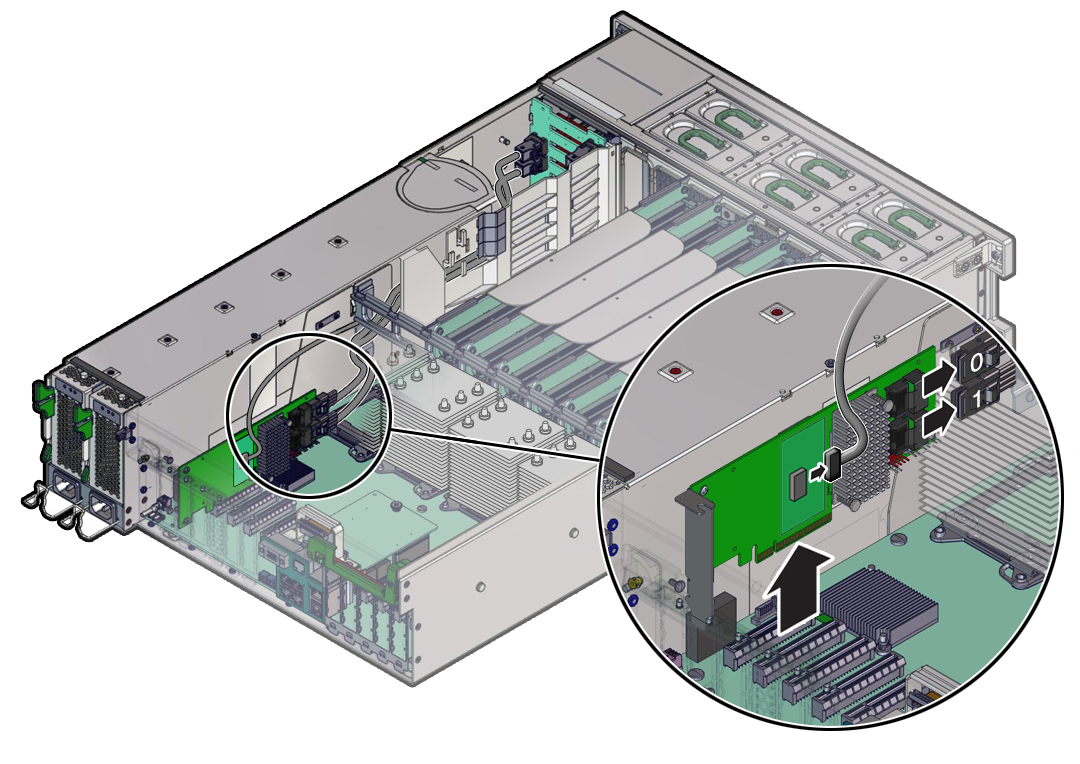
Remove the HBA card from PCIe slot 2 slot and disconnect cables attached to it.
Removing the card from the slot allows easy access to the connected cables. For details on removing a card, see Remove a PCIe Card.

-
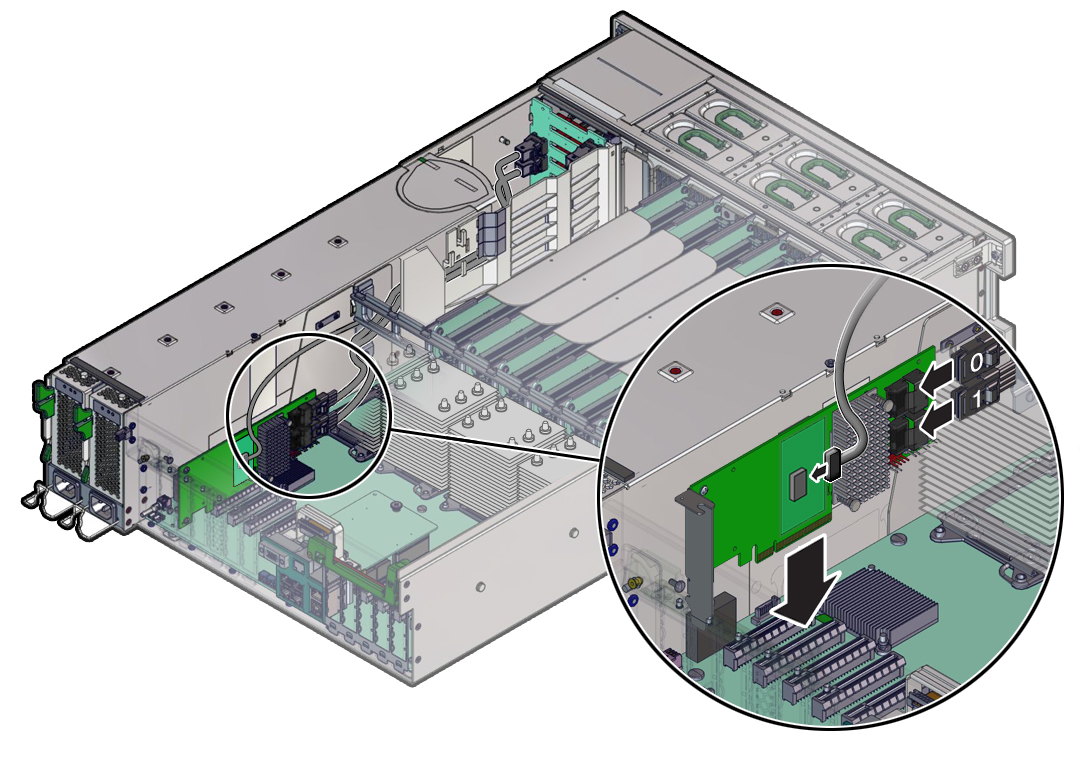
To install the replacement card, connect the cables to the replacement HBA card and install
the card in PCIe slot 2.
The HBA card has two SAS cables (the white labeled cable is 0, and the yellow labeled cable is 1) and an ESM cable that need to be connected before installing the card in the slot.
For details on installing a card, see Install a PCIe Card.

- Prepare the server for operation.
-
Restore configurations from the old card to the replacement card.
If you are replacing an HBA that was already configured for RAID, obtain the saved configuration file to restore to the replacement HBA card.
For details on configuring or recovering RAID configurations, refer to the Avago Technologies LSI Storage 12Gb/s MegaRAID SAS Software User's Guide, which is available at the following location: http://www.lsi.com/sep/Pages/oracle/index.aspx