Install a Storage Drive
For storage drive information, see Storage Drive Locations and Numbering.
-
Prepare the server for hot service.
See Preparing the Server for Component Replacement.
Note - This procedure can also be completed as a warm service or cold service procedure. -
If necessary, remove the HDD filler panel from the slot.
Access this component directly from the back of the server.
-
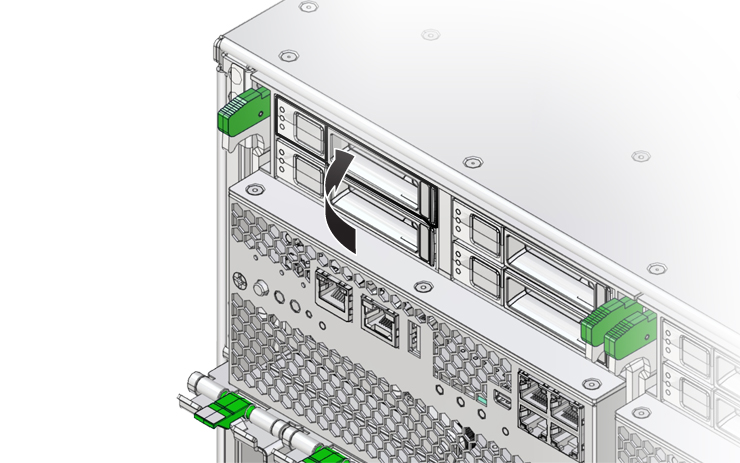
Press the handle release button on the front of the filler
panel.
The spring-loaded handle pops open.
- To remove the filler panel, use the handle to pull it out of the slot.
-
Press the handle release button on the front of the filler
panel.
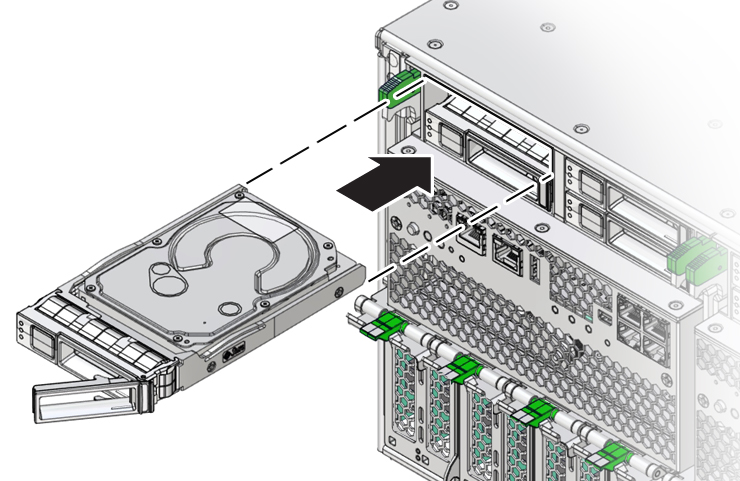
- Ensure that the drive handle is open.
-
Align the drive with the vacant slot so that the open handle is on the
right.

- Slide the drive into the slot and push it inward until it stops and the handle begins to close.
-
Rotate the handle to the closed position.

Continue pushing the handle until the drive is flush with the front of the SMOD.
-
Perform administrative procedures to reconfigure the drive.
The procedures that you perform at this point depend on how your data is configured. You might need to partition the drive, create file systems, load data from backups, or have the drive updated from a RAID configuration.