Install a DIMM
Use this procedure to install DIMMs for a memory upgrade or a configuration change, or as part of a DIMM reset (removal and installation).
- Unpack the replacement DDR4 DIMM and place it on an antistatic mat.
-
Ensure that the replacement DDR4 DIMM matches the size of the DIMM it
is replacing.
You must not replace a dual-rank DIMM with a quad-rank DIMM and vice versa. If you violate this rule, the performance of the server might be adversely affected. For DIMM socket population rules, see DIMM Population Rules.
-
Prepare the server for warm service.
See Preparing the Server for Component Replacement.
Note - This procedure can also be completed as a cold service procedure. -
Access DIMMs as required.
-
Remove the CMOD.
See Remove a CMOD.
-
Remove the CMOD top cover.
To remove the CMOD top cover, push the release button, slide the CMOD cover toward the back of the CMOD, and lift it away.
- Remove DIMMs.
Note - If you are changing or adding DIMMs as part of an upgrade, ignore the fault identification instructions. -
Remove the CMOD.
- Locate the DIMM slot.
-
Install a DIMM.
- Ensure that the ejector tabs are in the open position.
-
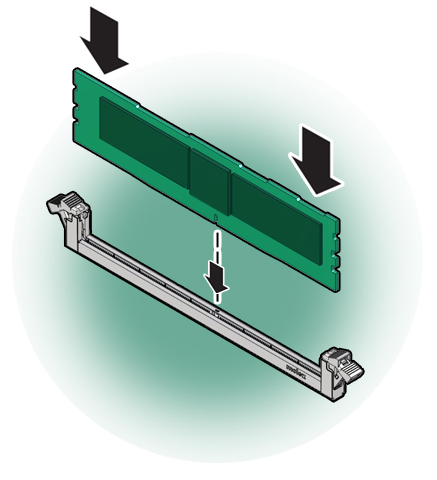
Align the notch in the replacement DIMM with the connector key
in the connector socket.
The notch ensures that the DIMM is oriented correctly.
-
To align the DIMM in the slot, ensure that the notch on the
DIMM connector lines up with the key in the DIMM slot.

-
Push the DDR4 DIMM into the connector socket until the ejector
tabs lock the DIMM in place.
If the DIMM does not easily seat into the connector socket, verify that the notch in the DIMM is aligned with the connector key in the connector socket. If the notch is not aligned, damage to the DIMM might occur.
-
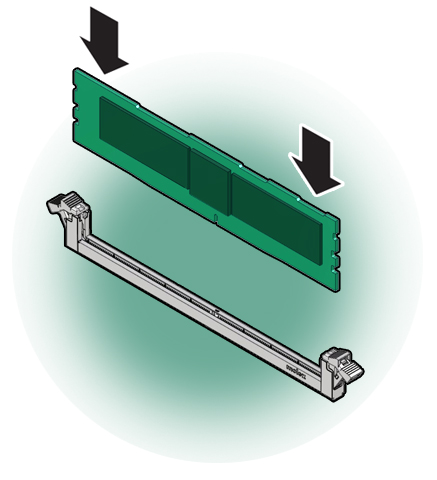
To install the DIMM in the slot, simultaneously press down on both
edges of the DIMM.
This action forces the DIMM into the slot and causes the two slot levers to rise and lock the DIMM in the slot.

-
Verify that the DIMM sits evenly in the slot and is locked.
Both levers should be in their fully closed and vertical position. In this position the levers lock the DIMM in the slot.
- Install the CMOD cover.
-
Install the CMOD.
See Install a CMOD.
-
(Optional) Use Oracle ILOM to clear server DDR4 DIMM faults.
DDR4 DIMM faults are automatically cleared after a new DIMM has been installed. If you need to manually clear DDR4 DIMM faults, refer to the Oracle Integrated Lights Out Manager (ILOM) 4.0 Documentation Library at https://www.oracle.com/goto/ilom/docs.
Note - If you want to move a faulty DDR4 DIMM to a new DIMM socket or re-seat a DIMM for troubleshooting, you must first manually clear the associated DIMM fault. Otherwise, the DIMM fault might follow the DIMM to the new socket location or reoccur on the current socket location, causing a false DIMM fault condition.