Prepare a CMOD for Replacement
 | Caution - These procedures require that you handle components that are sensitive to electrostatic discharge. This sensitivity can cause the components to fail. To avoid damage, ensure that you follow antistatic practices as described in Electrostatic Discharge and Static Prevention Measures. |
To prepare a failed CMOD for return shipment and failure analysis:
- Use Oracle ILOM to identify the location of the failed CMOD.
-
Prepare the server for warm service.
See Preparing the Server for Component Replacement.
Note - This procedure can also be completed as a cold service procedure. -
Remove the failed CMOD.
See Remove a CMOD.
- Set a replacement CMOD next to the failed CMOD on an antistatic mat.
-
Remove both CMOD top covers.
To remove the CMOD top cover, push the release button, slide the CMOD cover toward the back of the CMOD, and lift it away.
-
Remove the reusable DIMMs from the failed CMOD motherboard and install
them onto the replacement CMOD motherboard.
Note - Install the DIMMs only in the slots (connectors) that correspond to the slots from which they were removed. Performing a one-to-one replacement of the DIMMs significantly reduces the possibility that the DIMMs will be installed in the wrong slots. If you do not reinstall the DIMMs in the same slots, server performance might suffer and some DIMMs might not be used by the server. - Remove the reusable processor-heatsink module from the failed CMOD motherboard.
-
Remove the processor socket covers from the replacement CMOD
motherboard and install the processors.
-
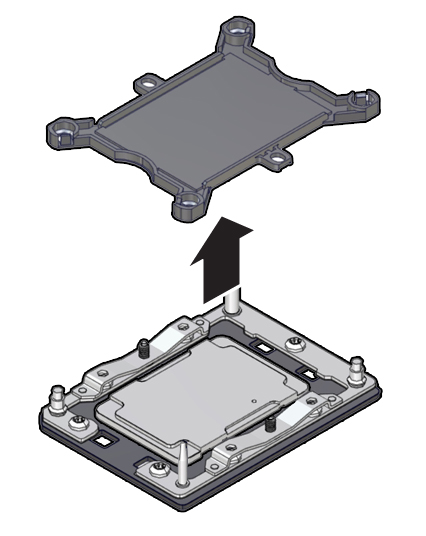
Grasp the processor socket cover finger grips (labeled REMOVE)
and lift the socket cover up and off the processor
socket.

-
Install a processor into the socket from which you removed the
processor socket cover.
See Install a Processor.
-
Grasp the processor socket cover finger grips (labeled REMOVE)
and lift the socket cover up and off the processor
socket.
-
Install the processor socket cover on the faulty CMOD
motherboard.

Caution - The processor socket covers must be installed on the faulty CMOD motherboard; otherwise, damage might result to the processor sockets during handling and shipping.
-
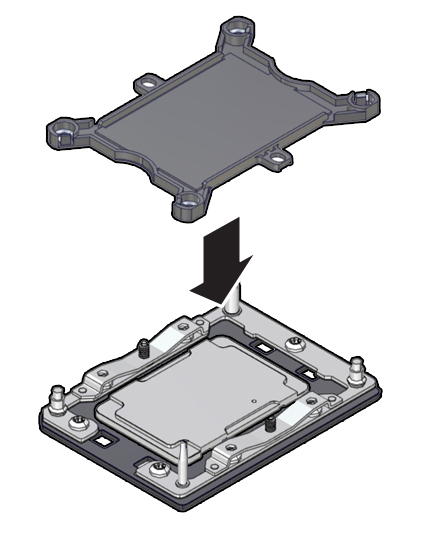
Align the processor socket cover over the processor socket
alignment posts. Install the processor socket cover by firmly
pressing down on all four corners (labeled INSTALL) on the
socket cover.
You will hear an audible click when the processor socket cover is securely attached to the processor socket.

-
Align the processor socket cover over the processor socket
alignment posts. Install the processor socket cover by firmly
pressing down on all four corners (labeled INSTALL) on the
socket cover.
- Install both CMOD socket covers.
- Place the failed CMOD in a shipping package.
- Return the replacement CMOD to service.