Install the Internal HBA PCIe Card
- If you are installng the card as part of another service procedure, skip to Step 3.
-
If you are replacing a faulty card, perform the following tasks.
- Unpack the replacement HBA card.
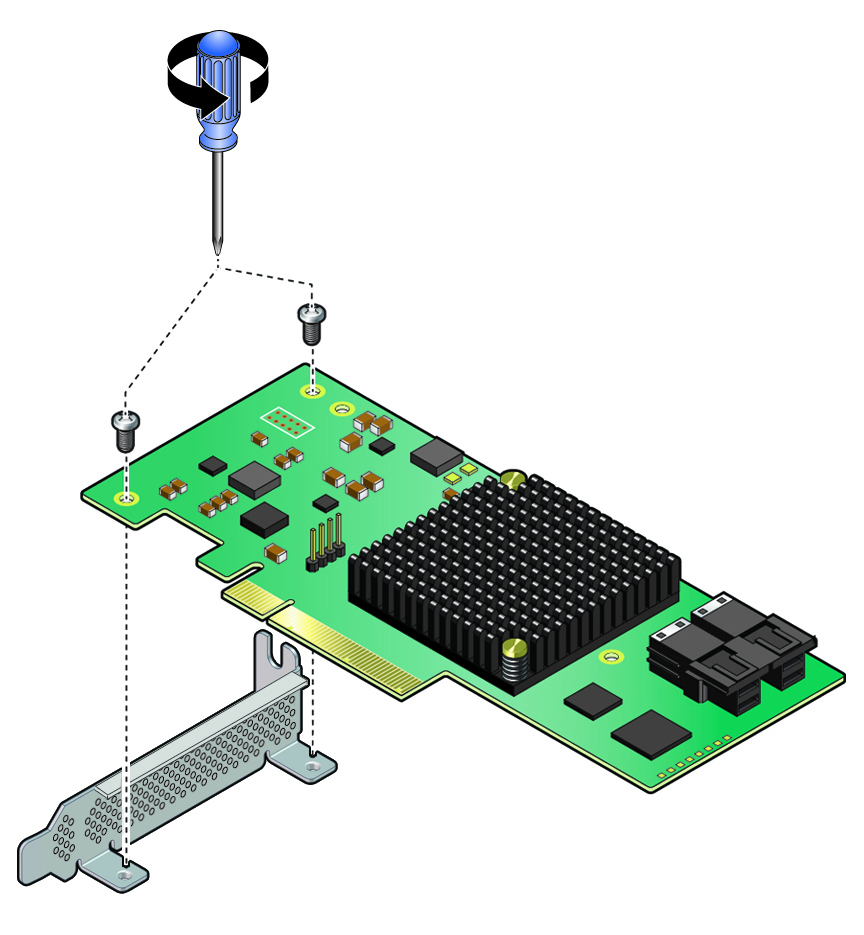
-
Using a No. 2 Philips screwdriver, remove the standard HBA PCIe bracket that shipped with the replacement card.

-
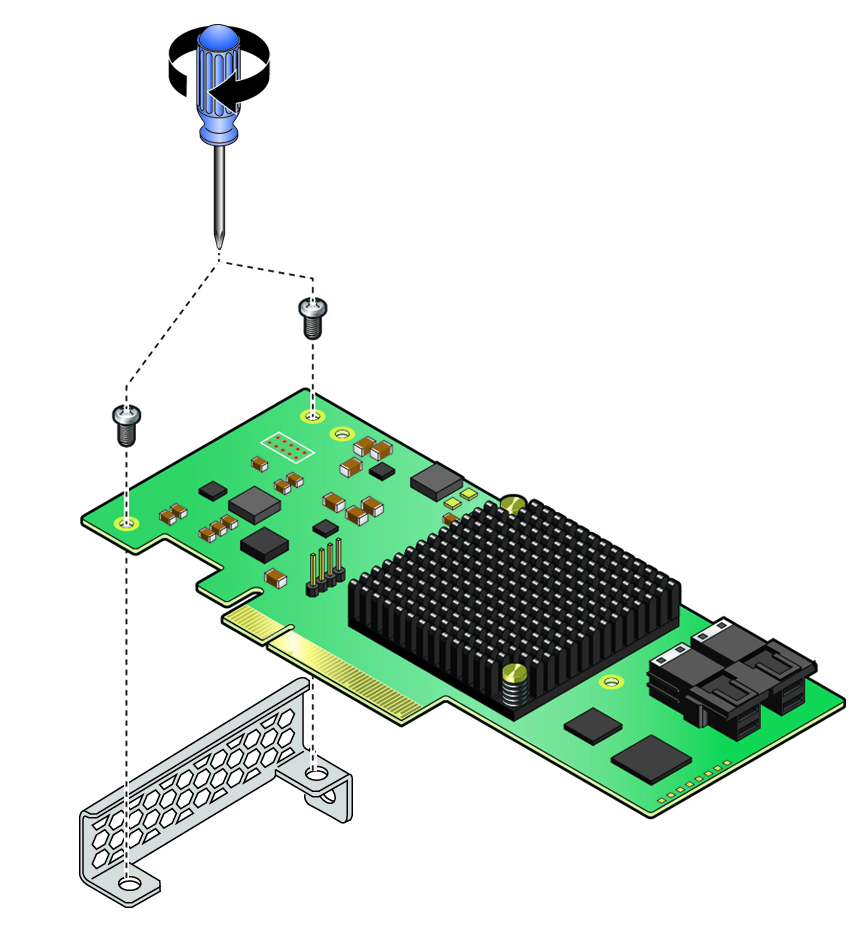
Install the special fitted bracket that was removed in Remove the Internal HBA PCIe Card.

Caution - Take care not to overtighten the screws, which could stip or cause the card to crack.

-
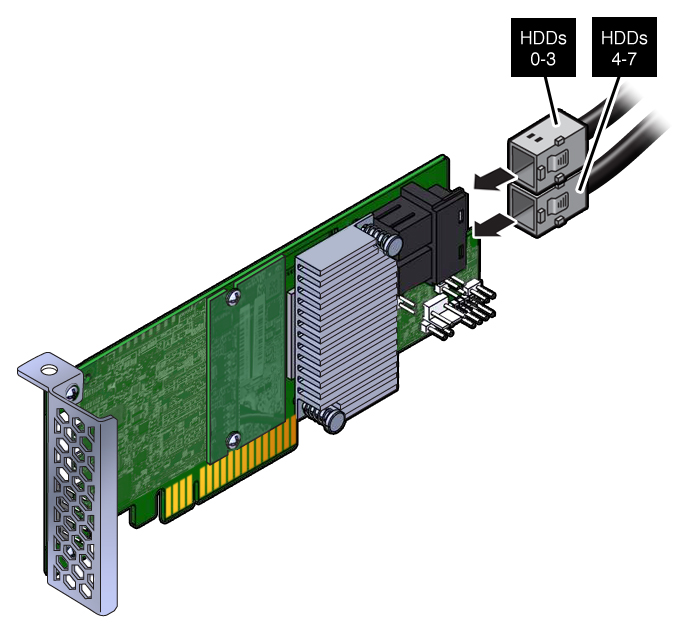
Connect the SAS cables to the HBA card.
Tip - Cables have designations for top and bottom orientation.
- Insert the card connector into the bottom connector.
-
Using a No. 1 flat-head screwdriver, secure the card using the bracket screw, being careful not to overtighten the screw.

- Return the server to operation.