Use the List Edit option to view properties from multiple assets in a list and provide unique values to each property, which are then updated at the same time. The assets you edit must be the same asset type.
After you begin the editing process, you can’t add other assets to the Multi Edit tab. You can exit out of a List Edit operation at any time by clicking the Exit List Edit button on the Navigation pane.
To use the List Edit multi edit option:
Add assets to the Multi Edit tab as described in the Adding Assets to the Multi Edit Tab section.
In the Multi Edit tab, select the type of asset you want to edit from the Filter by dropdown list. If all of the assets in the Multi Edit tab are the same asset type, skip this step.
The list that displays includes only assets of the selected type.
Insert a check in the checkbox besides the assets you want to edit now, either by clicking the checkbox beside each asset individually, or clicking the global checkbox on the top of the asset list to check all at once.
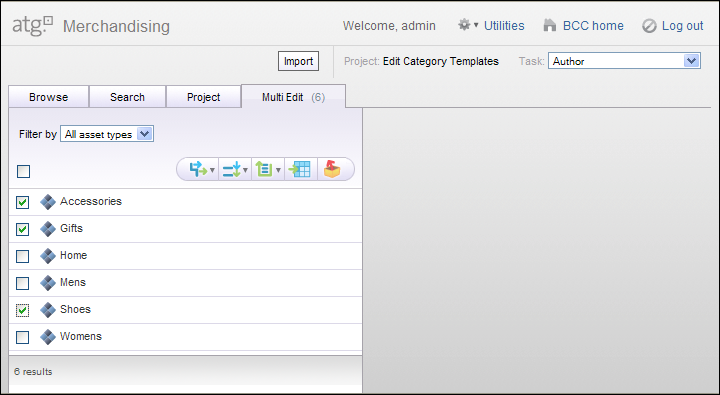
Click the List Edit button and, from the dropdown list that displays beneath it, select the property group that holds the properties you want to modify. There are no property groups provided out-of-the-box.
The Details pane displays “List Edit”, the property group, and the properties in that group.
To jump to properties for a particular asset, click an asset in the Navigation pane.
Modify properties as needed.
Click Save All.
A confirmation page displays in the Details pane, listing the changed and unchanged assets. See Evaluating the Results.
