Install a Power Supply
 | Caution - Never mix AC and DC power supplies in the same system. Catastrophic system damage will occur. Always replace the failed power supply with the same type of power supply. |
 | Caution - Safety agency requirements prohibit changing a system from AC power supplies to DC power supplies or from DC power supplies to AC power supplies after the product has been removed from the agency approved manufacturing site. |
- Remove the replacement power supply from its packaging and place it on an antistatic mat.
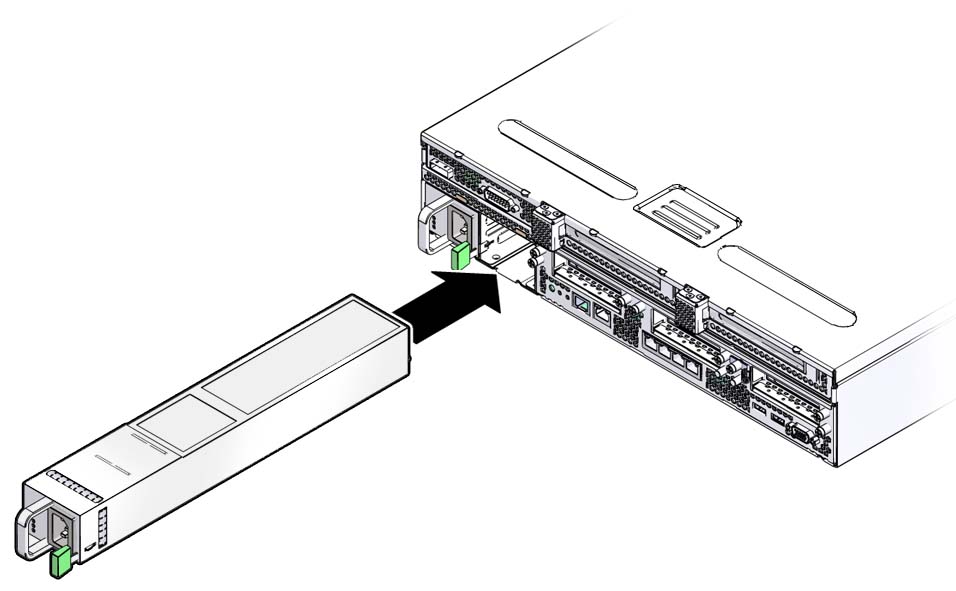
- Align the replacement power supply with the empty power supply bay.
- Slide the power supply into the
bay until it is fully seated.
Listen for the audible click when the power supply fully seats.

- Reconnect the power cord to the power supply.
- Verify that the amber LED on the replaced power supply and the service required LEDs are not lit.
- Log in to the ILOM service processor
as root.
Refer to the ILOM 3.0 documentation for instructions.
- At the ILOM prompt (->),
type the show /SYS/PSn command
to verify the status of the power supplies.
In this command, PSn is the identifier for the power supply you plan to remove, either PS0 or PS1.